Difference between revisions of "Oblong hole"
| Line 25: | Line 25: | ||
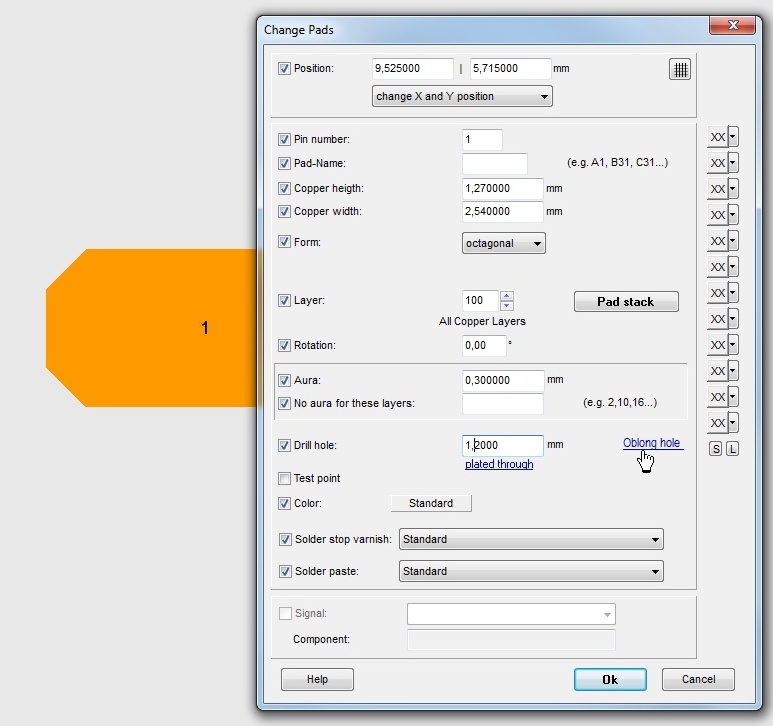
| − | [[Image: | + | [[Image:langloch_e_1.jpg|none]]Image: Der Link: ''Langloch'' im Dialog "Lötpunkte ändern"... |
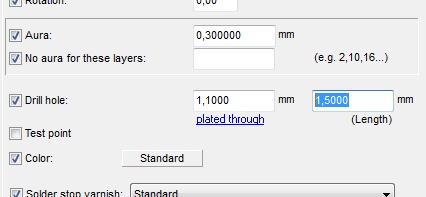
| − | [[Image: | + | [[Image:langloch_e_2.jpg|none]]Image: ...ermöglicht die Angabe der Dimension des Langlochs in horizontaler Denkweise. |
| Line 34: | Line 34: | ||
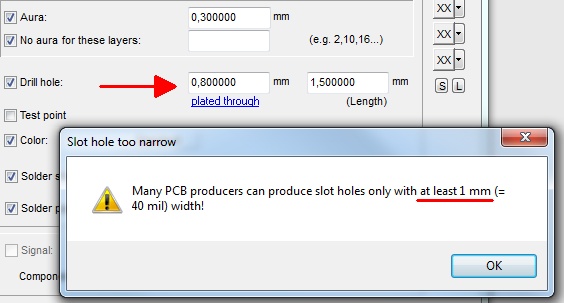
| − | [[Image: | + | [[Image:langloch_e_4.jpg|none]]Image: Bohrerdurchmesser ist mit weniger als einem Millimeter Durchmesser tendenziell zu klein.<br><br> |
Revision as of 11:46, 13 May 2015
also see:
- Pad
- Aura
- SMD
- Solder paste
- Solder stop
- Test points
- Thermal Pads
- Used pins/pads
- Via
- Drillhole
- Soldering pad having different auras upon different layers
- Two pads leading one signal
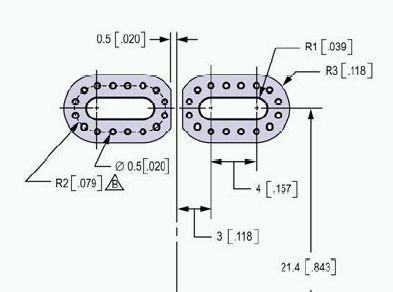
Oblong holes in datasheets often are displayed that way:
An oblong hole is a "Drillhole" brought to length. Others call it a slotted drill or a slotted hole. It is manufactured by a milling tool. Such a tool at least shall be 1 mm strong. In consequence the slot will be 1 mm wide. Smaller slots are difficult to mill. In TARGET 3001! please define millings on layer 25, Milling or on layer 23, Outline because outlines get milled anyway.
To give a pad an oblong hole please use the dialog Change Pads or - a priori - the dialog Pad Options.
Double click on a pad to open the Change Pads dialog. Close to the entry "Drill hole" you'll see the link Oblong hole.
Alternativ können Sie auf dem Pad auch eine einfache Linie auf der Fräs-Ebene, standardmäßig Ebene 25, Fräsen, ablegen. Die Dicke/Länge der Linie bestimmt die Dimension der Fräsung. Wählen Sie also das Linien- Werkzeug und klicken Sie dann mit der rechten Maustaste im Ebenenstapel (Sidebar) auf Ebene 25, um sie zu aktivieren. Jetzt zeichnen Sie die Linie, die den Fräser-Verfahrweg darstellt, auf dieser Ebene. Teilen Sie Ihrem Leiterplattenhersteller mit, dass die Fräsung metallisiert (innengalvanisiert, durchkontaktiert) sein soll. So weiß er, ob er vor oder nach dem Galvanisieren fräsen muss.
Eine Fräsung definieren Sie in TARGET entweder auf Ebene 25, Fräsen oder auf Ebene 23, Umriss, denn Umrissdaten werden allemal gefräst.
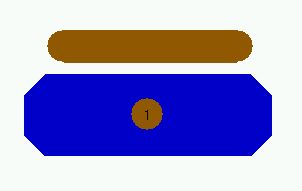
Im folgenden Bild sehen Sie ein gestrecktes, achteckiges Pad mit zunächst normalem Bohrloch sowie eine "Linie" auf
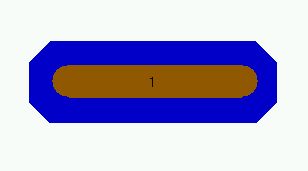
If an oblong hole shall be surrounded by copper and plated through, please draw a pad showing the desired copper shape and create the oblong hole as a milling. The milling itself you draw as a line having the desired dimensions upon the milling layer (by default layer 25, Milling). Select the drawing tool from the tool bar and press M2 on the milling layer in the side bar. The width/length of the drawn line defines the dimensions of the milling.
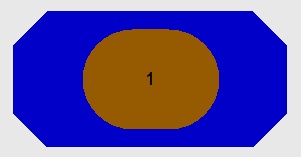
The following image shows the principle of creating a lengthened octagonal pad having a drill hole and having a milling command over it on layer 25 (brown). Change the pad form to "Oblong" in the pad dialog.
Now push the milling in position using M1H.
Your PCB house will mill the oblong hole accordingly. Normally the rule applies: "As long as a copper rest ring remains around the drilling, the figure gets plated through." This is not always the same with milling. Because it depends on the question when the milling will be done: Prior to the plating or afterwards. Regarding the "plating through" in this case please contact your PCB house how they handle such. Maybe you should add a little explanatory text in respect to the milling here.
.


