Import a component symbol to the schematic
This article is part of an introduction tutorial called CrashCourse2
Download this article as PDF-File
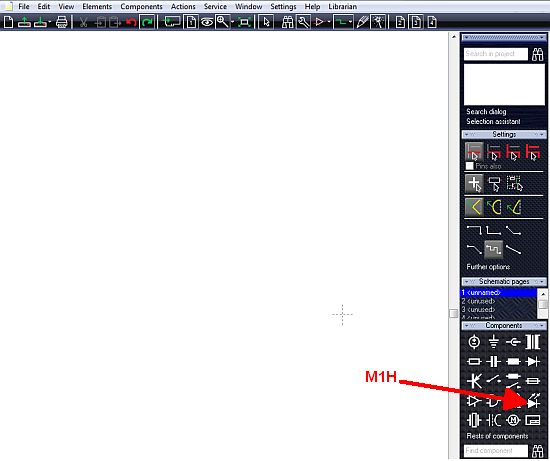
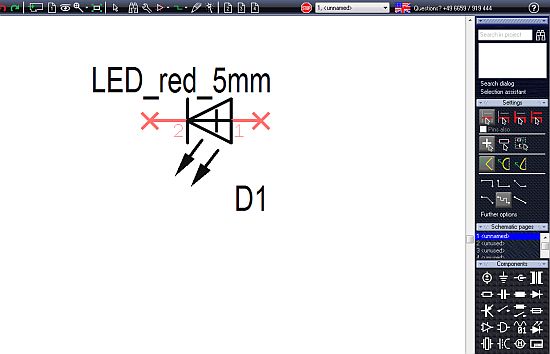
The following image shows an empty schematic page. Now we import a symbol from the sidebar. Click M1H upon the symbol pictogram of a LED and bring it into the schematic by drag and drop.
|
More details? |

A click M1 on the pictogram will open the component browser to import further parts of this component family.
|
More details? |

In case the component value appears too big, you might change it by M11 upon it's handle cross. The appearing dialog allows to modify the entries. "LED_RED_5mm" stands for Component Value. "D1" stands for "Component Name".
|
More details? |

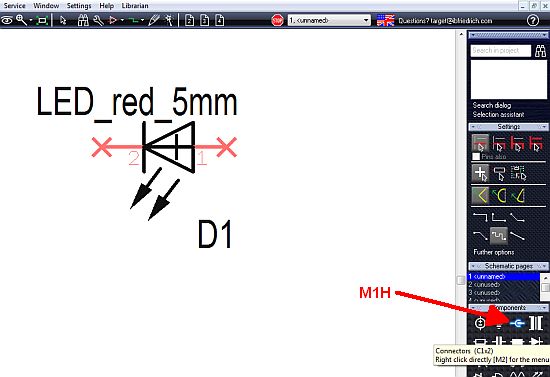
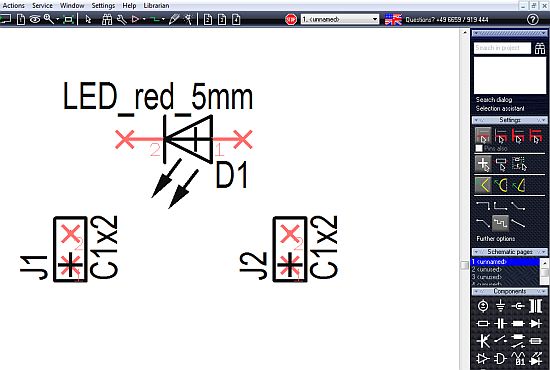
Now get in two dual pole connectors to the schematic by the same procedure...

...and place them at a convenient location. Rotate any symbol prior to dropping by the use of the keyboard key [t] which stands for turn or by a mouseclick M2.

