Difference between revisions of "3D View"
| Line 16: | Line 16: | ||
[[Image: Extrudiertes_polygon2_e.jpg|none]]Image: Extruded polygon. Double click on the line defines the height of the extrusion.<br><br> | [[Image: Extrudiertes_polygon2_e.jpg|none]]Image: Extruded polygon. Double click on the line defines the height of the extrusion.<br><br> | ||
| − | |||
| − | |||
| − | |||
| − | |||
| − | |||
| − | |||
| − | |||
| − | |||
| − | |||
| − | |||
| Line 32: | Line 22: | ||
<table> | <table> | ||
| − | <tr><td>The layout:<br><br>[[image:3d_layout.jpg]]<br></td></tr> | + | <tr><td>The layout:<br><br>[[image:3d_layout.jpg|none]]<br>[[Media:Pic.T3001|Download TARGET 3001! example project Pic.T3001]]<br></td></tr> |
<tr><td>The 3D-View;<br><br>[[image:3d_image.jpg]]<br></td></tr> | <tr><td>The 3D-View;<br><br>[[image:3d_image.jpg]]<br></td></tr> | ||
| − | <tr><td>3D Dummy:<br><br>[[image:3d-print.jpg]]<br><br> '''[[3D dummy |How much is it?]]'''</td></tr> | + | <tr><td>3D Dummy:<br><br>[[image:3d-print.jpg]]<br><br> '''[[3D dummy |How much is it?]] [[3D dummy|How does that work?]]'''</td></tr> |
</table> | </table> | ||
| − | + | <!--[[image:3danim_white.gif]] | |
| − | + | <br> | |
| + | <table border =0 cellpadding=10> | ||
| + | <tr><td>[[File:pic3dfdm.jpg]]</td> | ||
| + | <td></td><td>[[image:3d_print_bleu.jpg]]<br>Plastic 3D model.</td> | ||
| + | </tr></table> | ||
| + | --> | ||
[[category:automatic functions]][[category:Homepage]] | [[category:automatic functions]][[category:Homepage]] | ||
Revision as of 10:19, 29 June 2021
TARGET 3001! allows to inspect your layouts in 3D View. Fly through your TARGET-Layout and inspect the layout elements from all sides. By the use of the STEP 3D export you will be able to print your "assembled" board physically in 3D prior to real assembly.
To see what you have created, click in layout menu "View" on "3D view" or simply click button:

3D in general
3D Syntax
Creation of a 3D model
Modification of a 3D model
IDF Export
Precondition is, that a component has a 3D-model. Most packages in TARGET 3001! are furnished with 3D models.
Minimum requirements for 3D view
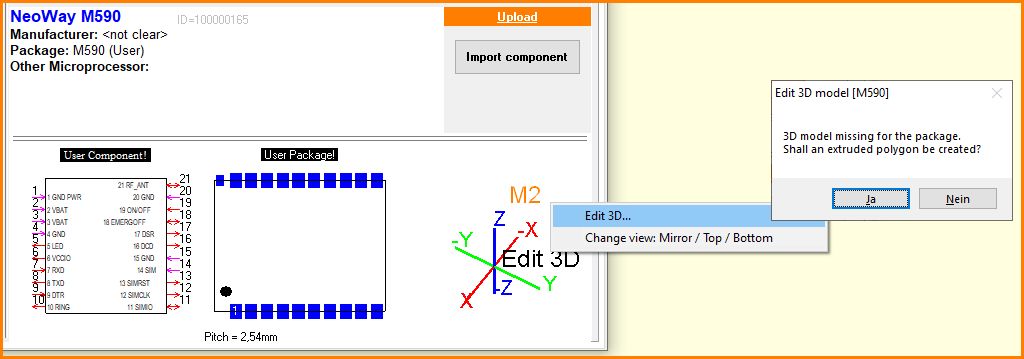
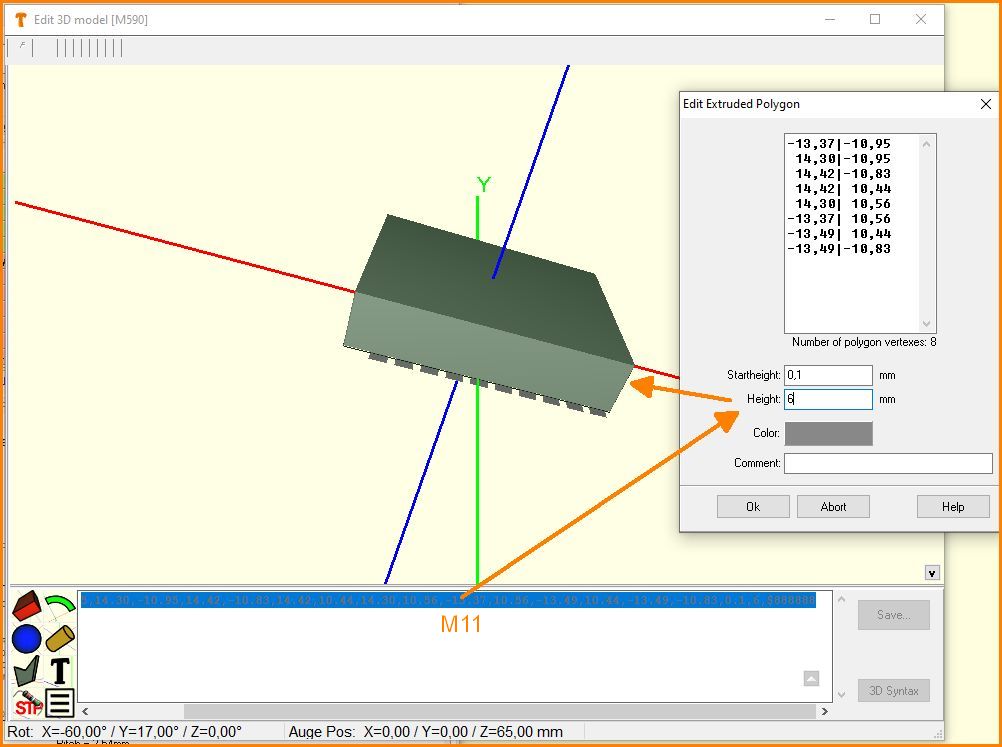
For a 3D representation of a component the properties at least need a height information (COMPONENT_HEIGHT). This simply pulls the floor plan upwards (extrudes it) so that a solid is created. We also call this an "extruded polygon". All components in TARGET by default have a minimum height of two millimetres, unless they already have the correct height according to the data sheet. Even if you want to add a 3D model to a component, you will first be asked if you want to create a simple "extruded polygon":
Image: Extruded polygon. Double click on the line defines the height of the extrusion.
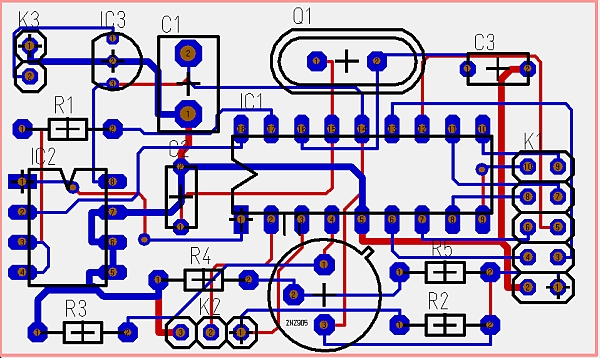
The following images will give an impression on the usability of the 3D function in TARGET 3001!:
| The layout: Download TARGET 3001! example project Pic.T3001 |
The 3D-View;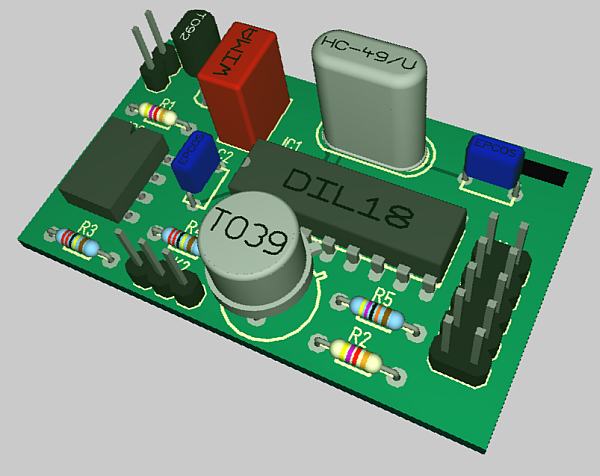 |
3D Dummy: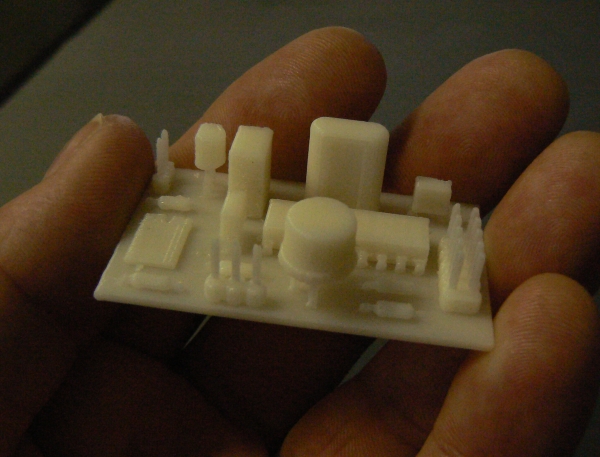 How much is it? How does that work? |


