Load bitmap into rectangle
This feature can be found in layout menu "Actions". The idea is to place an image to your layout or schematic. Besides bitmap (BMP) also GIF, JPG, JPEG, PNG, TIF, TIFF is possible.
There might be two reasons why you want to import a bitmap to your project:
- You wish to load a PCB photograph of earlier days from which you don't have any file information beneath all TARGET layers to ease the reverse drawing of this already exising PCB. So you would load a bitmap of your real PCB to a filled rectangle into TARGET 3001! Please follow the Reverse Engineering article.
- You wish to load a bitmap to your schematic or layout for documentary reasons or just for giving your layout or schematic a certain look. What we explain next is how to import a bitmap to your layout. The procedure for importing a bitmap to the schematic is the same.
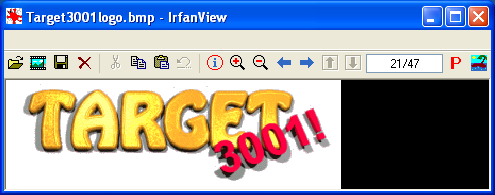
The first step is the availability of an image. In our example we use the TARGET 3001! logo.
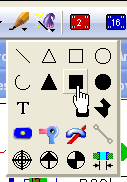
The higher the resolution of the image is, the clearer it will come out in your layout. Now you must copy it to the clipboard (Edit/Copy). The next step is to open the drawing tool in TARGET 3001! and to select the tool for drawing a filled rectangle:
Now draw a filled rectangle which has equivalent length and width proportions to the area where your bitmap shall appear.
Important: you must highlight the rectangle.
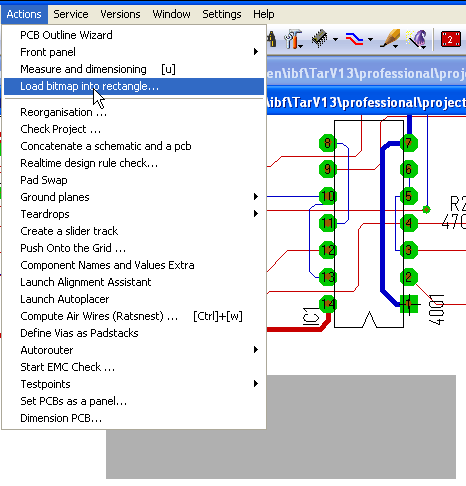
Now open menu Actions and select the option: Load bitmap into rectangle
This is the result:
Those kinds of colored bitmaps sure can not be expressed in Gerber and Postscript. In case you intend to bring a logo into copper or to a frontpanel you must follow a different technique which can be read in the article Engraving a logo to a frontpanel (just change the frontpanel layer to a copper layer - it's the same).
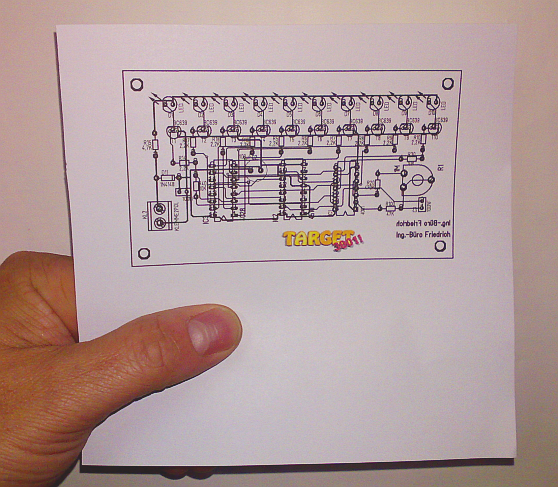
Later when you bring your layout to paper, you will get something like that:
.


