Engraving a logo to a frontpanel
For inserting a logo to your PCB project please look here: Insert image.
Start the engraving tool and define the outlineof your frontpanel by following the dialog. You will get 3 new layers as usual when starting a frontpanel:
- Layer 30: Frontpanel (lettering)
- Layer 29: Frontpanel (documentation)
- Layer 28: Frontpanel (milling)
Now you must convert your bitmap into a package (like a footprint pattern) using this dialog:
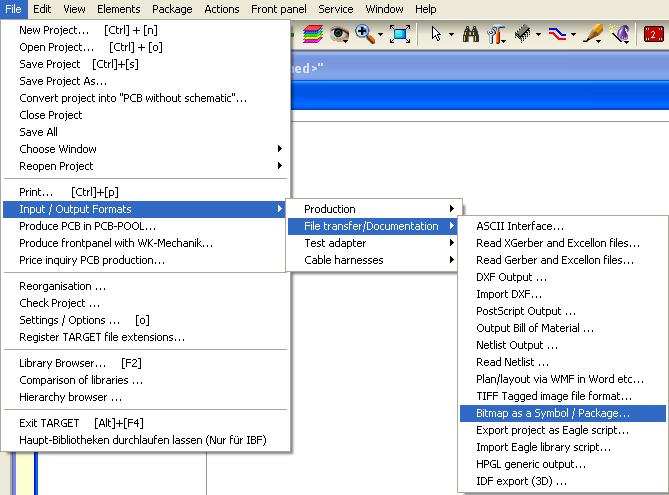
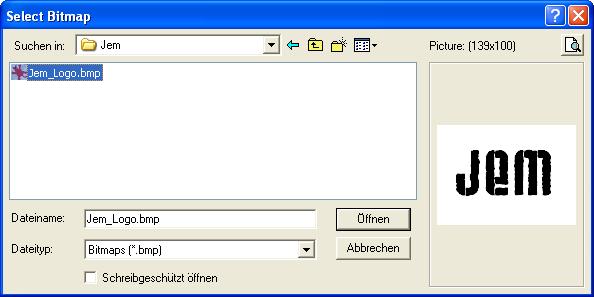
You are requested to load the bitmap. We made one out of three letters:
After loading it, please define a place where to store the converted jem.pck:
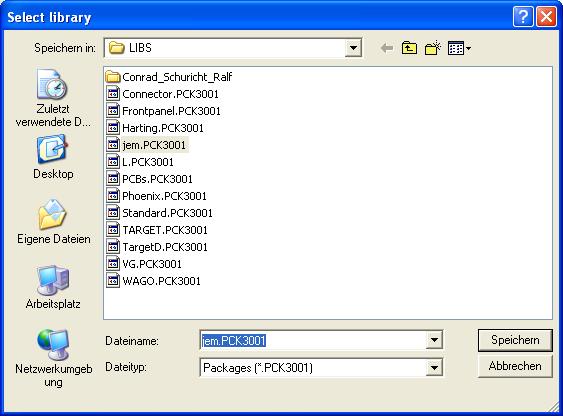
We did it already before making the screenshot, that's why the grey jem.pck in the list already exists. Set the width of a pixel as wide as the drill you are going to use (0,3mm in this example):
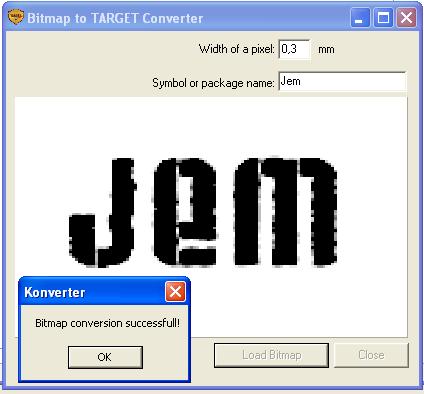
Now you have a jem.pck in the library LIBS from where you get it into the canvas:
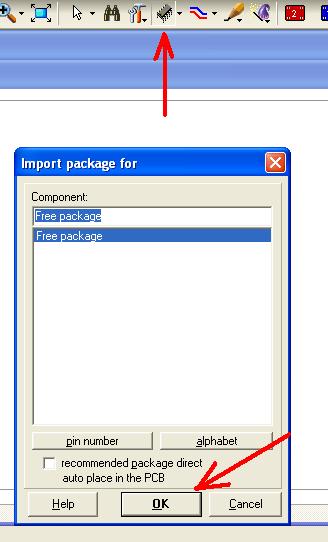
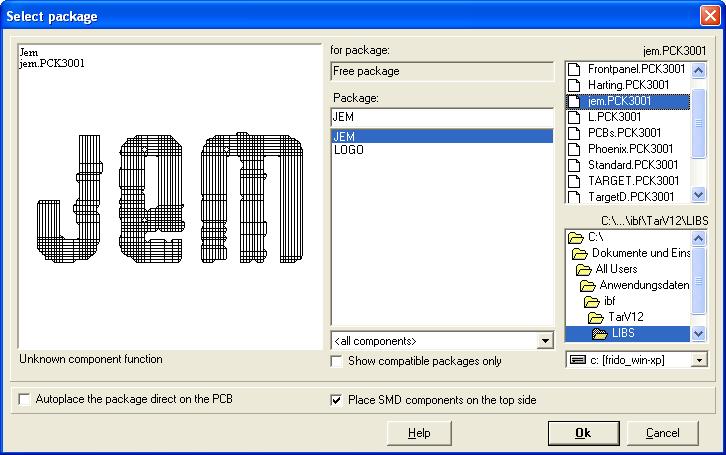
Press OK and get:
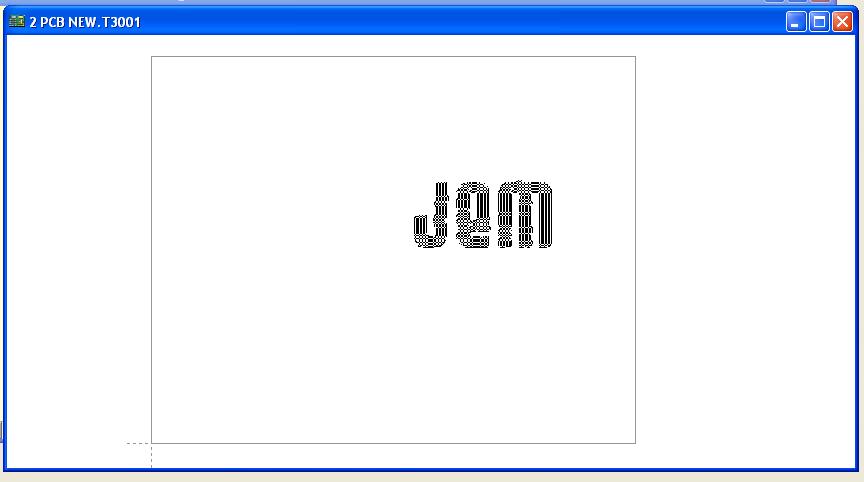
This picture shows the phantom hanging on the cursor. If you place it by mouseclick, you won't see anything because you have imported a package (footprint pattern). This is supposed to be on layer 2, copper bottom. So if you switch all layers visible, you get it shown in red (which means it is on layer 2, copper bottom).
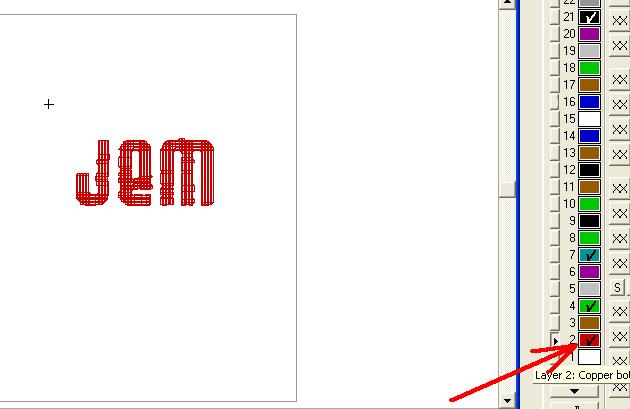
But this is not what we want. We want it on layer "30, Frontpanel lettering". So we must bring it over there.
Drag a highlighting square over the complete figure and press key [e] for edit. Set the dialog like below and press OK.
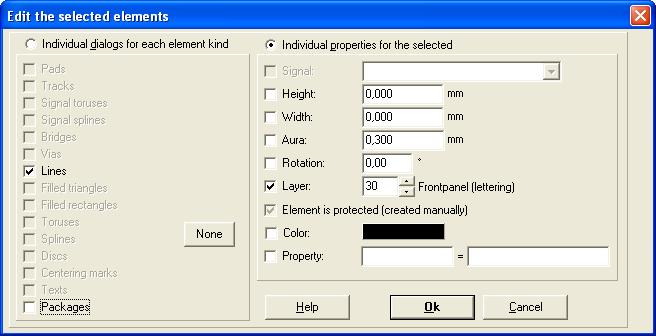
What you get is this:
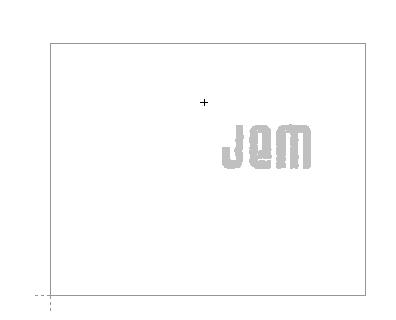
If you doubleclick the figure you will see, that it is on layer 30 which is correct. If you zoom in a bit you will see that the logo is created of lines. These lines are the trackings of the drill. You can edit them:
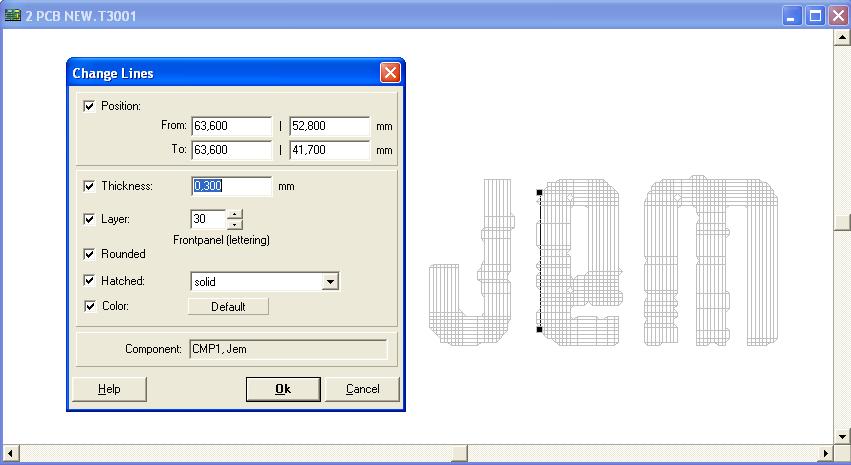
You must play a bit regarding the question of resolution of the bitmap (Pixel) and the diameter of the drill in respect to the size of the logo on your panel. Sure some clicks, but it works.
Back to Frontpanel

