Place tracks by hand
This article is part of an introduction tutorial called CrashCourse2.
Download this article as PDF-File
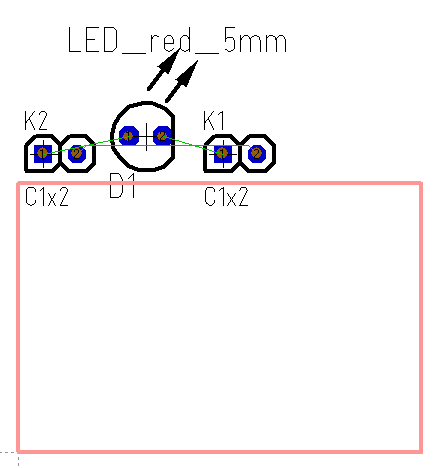
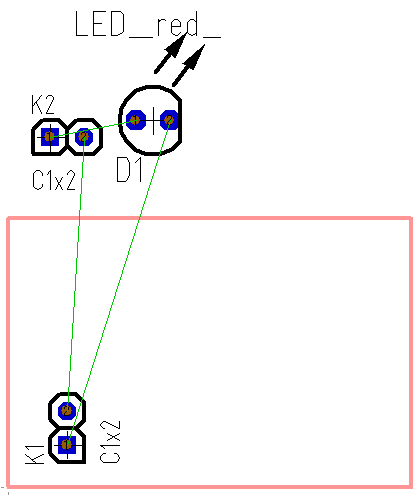
The autoplacer places e.g. randomly your packages at the edge of the board outline:
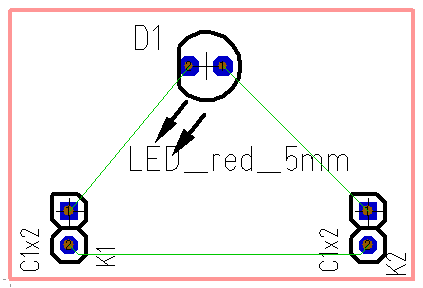
First drag the components into position. For doing so click with mousebutton held upon the handle cross of a package or at any drawing element of the package for grabbing it. In the second case this button ![]() needs to be pushed, otherwise you won't grab all of the package but only a part of it. You will find this button in the Sidebar in section "Settings".
needs to be pushed, otherwise you won't grab all of the package but only a part of it. You will find this button in the Sidebar in section "Settings".
You can rotate the the components during the dragging by pressing the right mousekey M2. You also might touch them again for rotation. NOTE: Sometimes little fractions of drawings remain during the displacement. Press key [N] for refreshing the screen! At the end your placement might look like this:
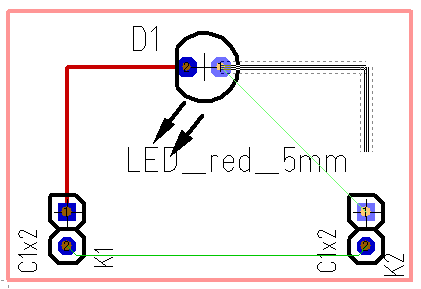
Clicking this icon ![]() will let you start drawing the tracks. Before having placed a track press keyboard key [o] for options of coming tracks. Click on a pad and drag the mouse to another pad for creating the connection. Toggle the bending mode by the use of the space bar or use the buttons in the sidebar in section "Settings":
will let you start drawing the tracks. Before having placed a track press keyboard key [o] for options of coming tracks. Click on a pad and drag the mouse to another pad for creating the connection. Toggle the bending mode by the use of the space bar or use the buttons in the sidebar in section "Settings":
The dashed line which goes along beside the signal line represents a spacing having the the bigger value of
- the element aura set "aura width (PCB)" and
- the minimum spacing of the signal "Standard track-spacing (PCB)
These can be found in "Settings/Settings (Project)".
If in the signal's properties the minimum spacing is set to "Normal", the standard spacing is used.
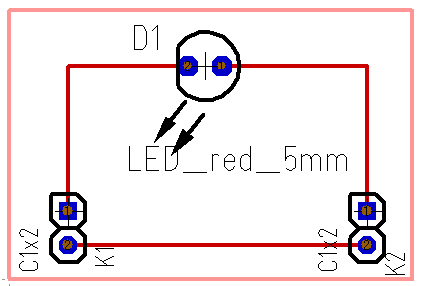
After all tracks are placed and all green air wires (ratsnest) have vanished your layout might look like this:
Also see article Track.


