Block Diagram
General
For the Block-Diagram-Wizard see "Menu Actions"
Create a new Block
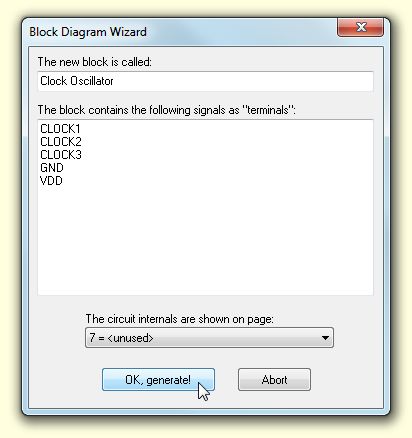
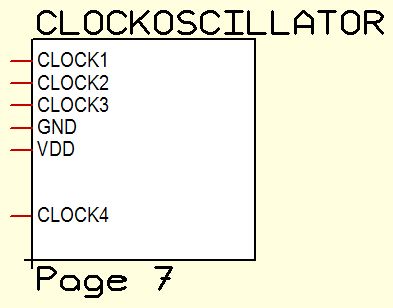
TARGET 3001! allows to generate block diagrams very easily. Just enter the name of the block and the names of its terminals (= signals they each represent) line by line. Define the schematic page where the block-schematic shall appear on. Page 7 in our case. The block in this example is created on schematic page 1.
Reference terminals in the block
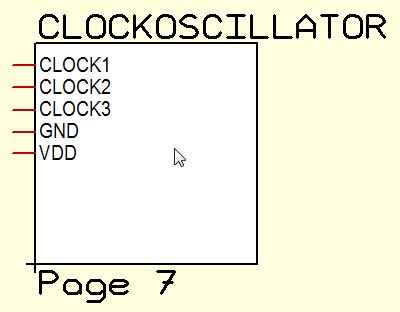
Now you can move and drop the following block like a component:
The reference connections can be displaced within the block by M1H. Please note that key ![]() in the pointer toolbar is not active. Would it be so, the whole block would move.
in the pointer toolbar is not active. Would it be so, the whole block would move.
The reference schematic
Simultaneously you will find the corresponding terminals on page 7. If you double click into the white area of the block, you will immediately be switched to the corresponding schematic page (page 7 in this case.)
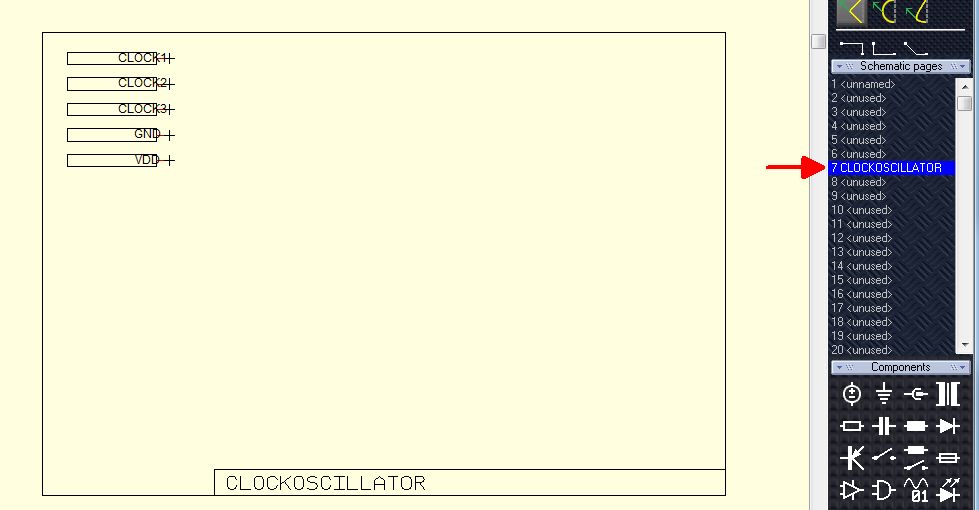
Now you can move the reference symbols to the desired spot. A M11 click onto the inner white rectangle of the block automatically switches to the desired page. The inner white rectangle has set property "EXECUTE" to value "PAGE:7" for that purpose.
Establishing a new terminal
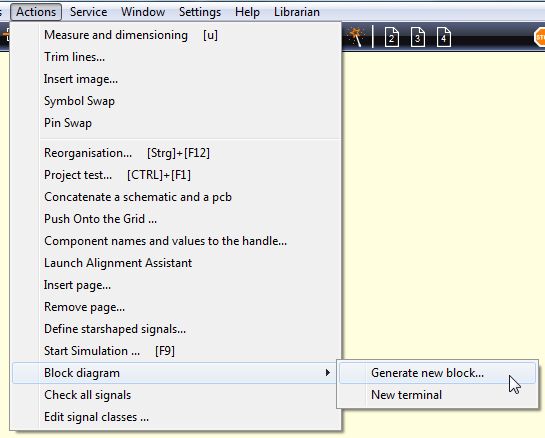
The terminals of a block are just reference symbols which can be renamed or deleted. New terminals are established in menu "Actions":
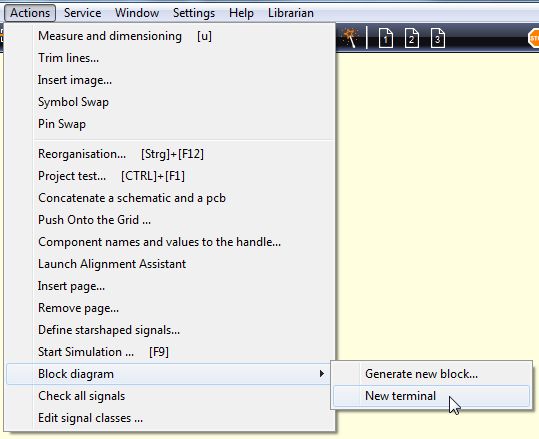
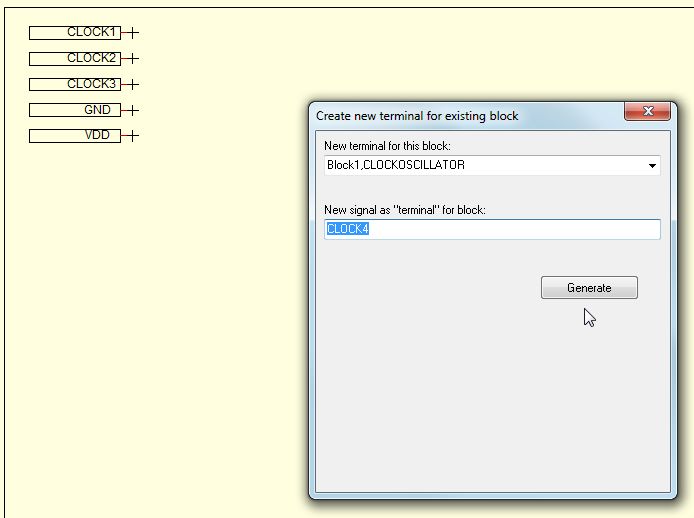
Please select the block in question from the list in the dialog. Give the new terminal (= the new signal) a name. CLOCK4 in our case.
In the reference schematic the new terminal is placed bottom left of the sheet. You can move it anywhere.
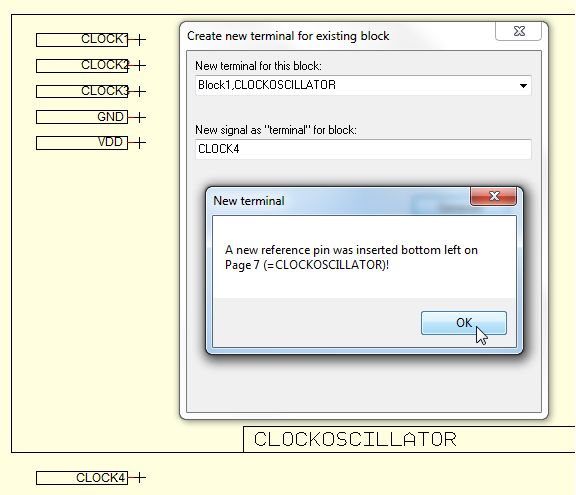
Also in the terminal block the new terminal is placed.
Change the signal name of an existing terminal
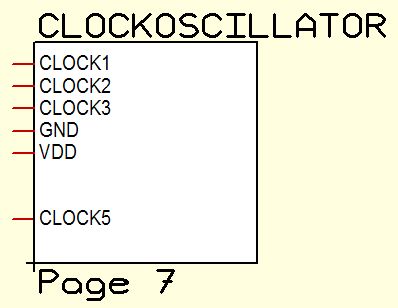
The easiest is doing it by the signal. Highlight the complete signal and Press keyboard key [v] in order to rename the signal as well as the terminals. Rename it to CLOCK5 in our case.
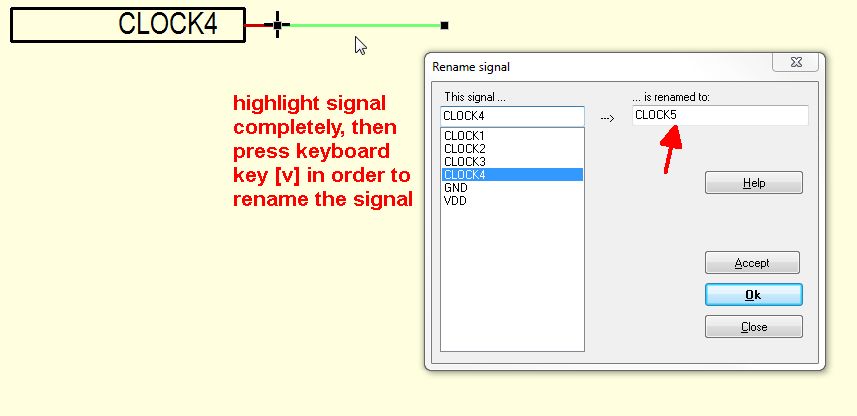
...as well as in the block itself are automatically changed.


