Modify a package in the database
Search for example for the land pattern of the voltage regulator 7809 in order to modify its pad structure. Click M2 on the image of the package and opt for "Edit package drawing (PCB layout)...":
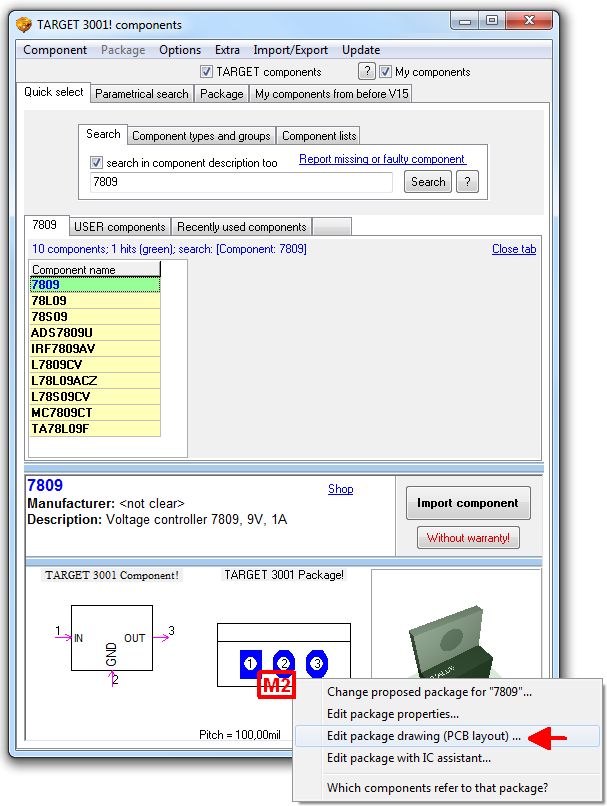
Image: The dialog of the component database
You get asked whether you would like to create a user copy of the component. You should say yes because only USER components can be modified, genuine TARGET parts can't. Click Yes to the following two dialogs.
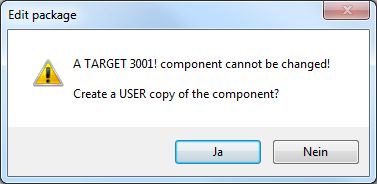
Image: intermediate dialog
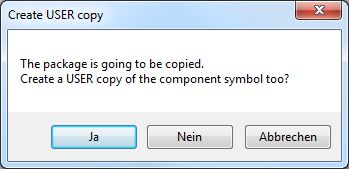
Image: intermediate dialog
The copy of a part can be recognised by its USER flag. Your modifications won't get part of these genuine TARGET parts but always of the user copy. Similar with a new package - this always will be a USER component. USER-components stay untouched when component updates are made.
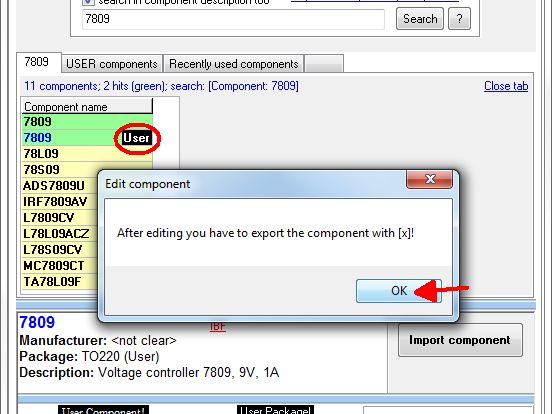
Image: Export a modified package to the component database.
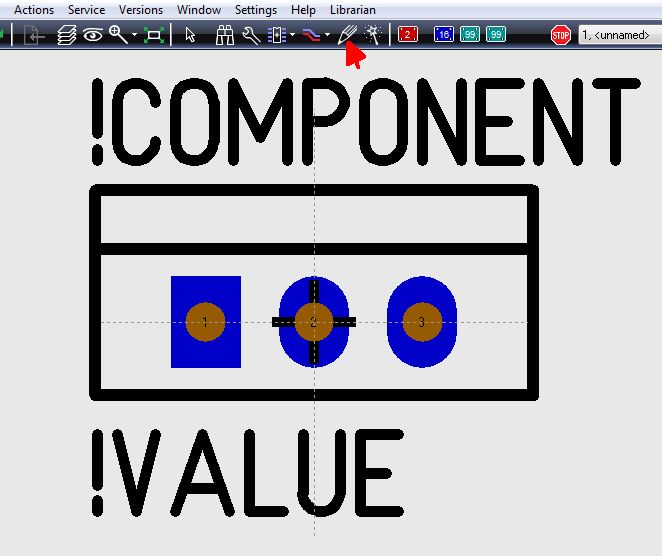
So import the USER component to the layout in order to modify it according to your wishes using the drawing functions. There is no separate package editor. You draw just in the layout.
Image: Select the drawing functions. You even might simply drag the lines by M1H or use the line coordinates to fix them as you like (click M11 on a line in order to open the dialog for edition.)
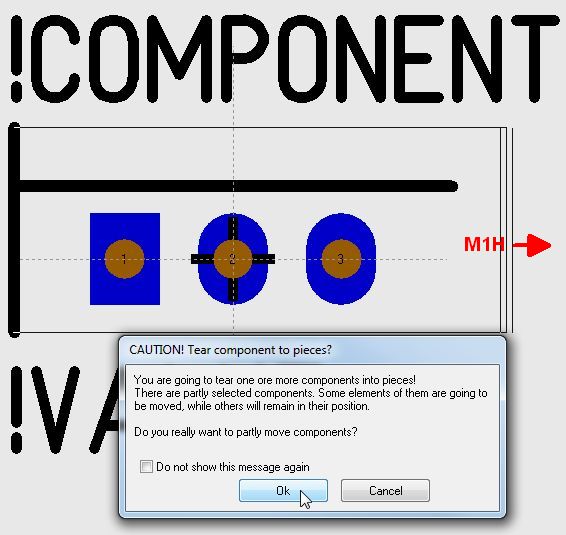
Image: Warning: Ripup a component - ignore it in this case.
To ripup an existing component in order to modify it is normal (it is the nature of the thing). Confirm this dialog by OK.
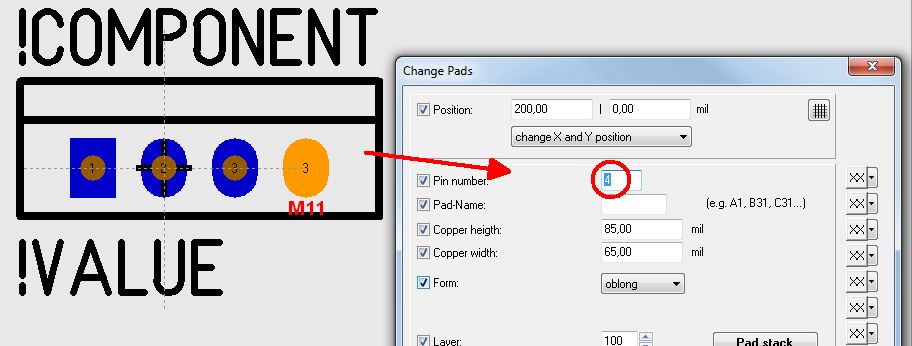
Image: Duplicate a pad
In our example we have enlarged the package outline to the right and we placed the copy of pad #3 to the right as well. The aim is to enlarge the package by one pad. Double click on the new pad allows its edition. We set the pad number =4 and confirm the dialog by OK. Now you need to highlight the complete drawing by a highlighting square (catch window).
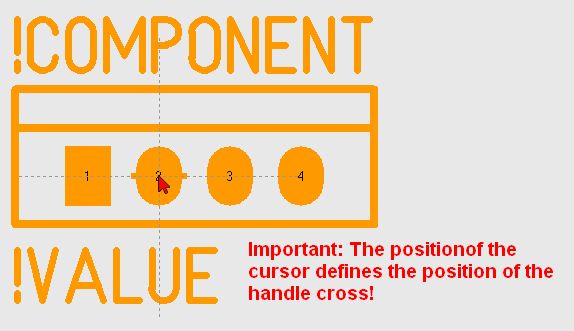
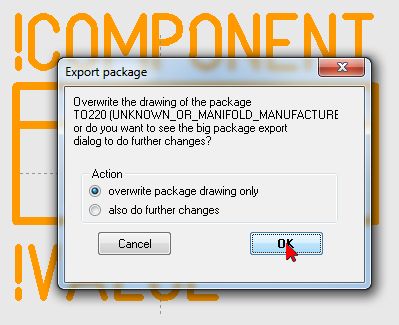
Image: Component export.
Hover the cursor to a spot where the handle shall appear and press keyboard key [x].
In our example we overwrite the initially created USER part which was a copy of the genuine TARGET-part. If you want to add a name supplement or if you want to give a new name, please use button "also do further changes". In the following image you will get asked for a history entry - you can enter to it or not.
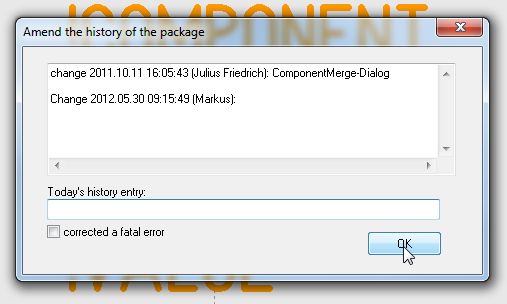
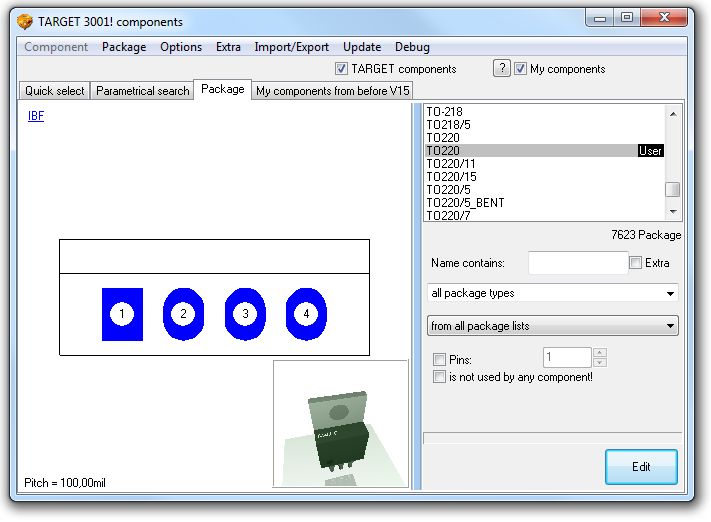
Image: The new component in the package browser.
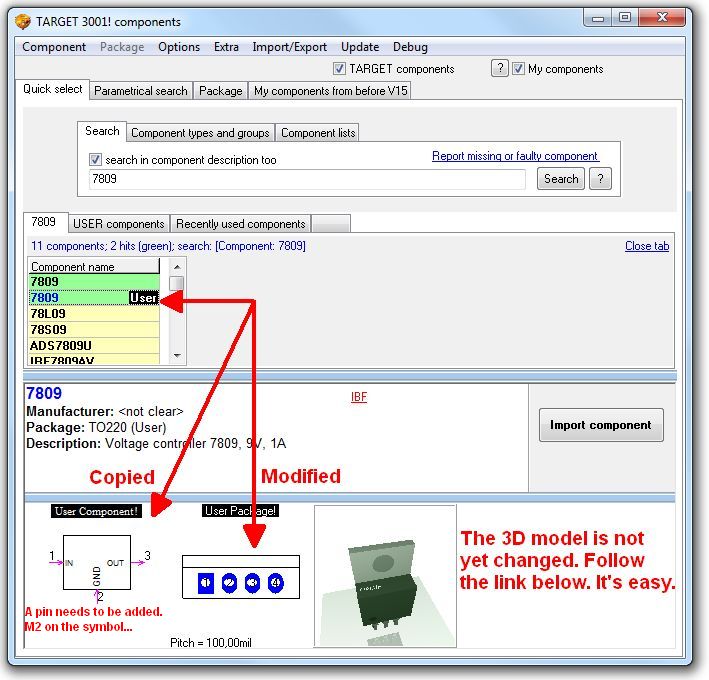
Image: Search from schematic view. The new component in the component browser showing the symbol still having 3 Pins. Adapt it by M2 on the symbol...
Important note: The 3D model isn't modified yet. This has to be done separately. Click M2 on the 3D view in order to modify the 3D model as well.


