Gerber Special
General
For the generation of Gerber data you will receive the following dialog by the use of: "Menu File / Input/Output Formats / Production / (X-)Gerber and Drill Output PCBout". Please press the extension button: Special >> under the Start button. It changes and shows << Normal now. It is in case you want to add special information for the creation of the Gerbers.
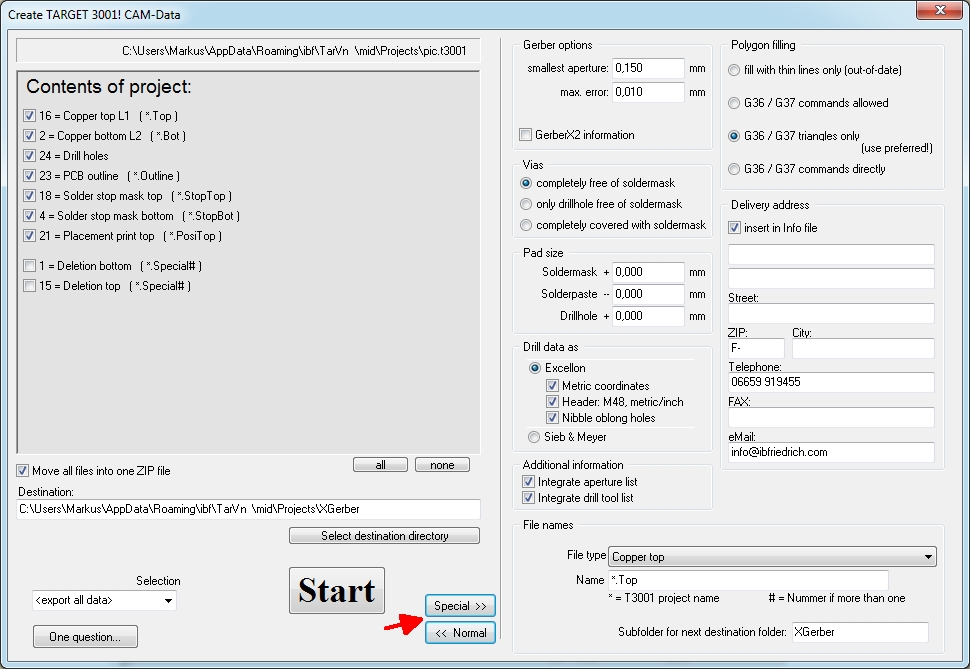
Image: The Gerber Special dialog. The button lettering changes between "Special"a and "Normal" depending on which view currently is displayed.
The following settings can be done:
Gerber options
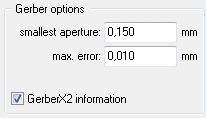
Remember that the Gerber format had been developed for the control of a light sensitive process. So "aperture" means the admission width of a lightpen being manouvered over a light sensitive plate. Being exposed means "copper remains" at this point. The smallest Aperture defines, how thin tracks can be processed by the manufacturer. Without additional cost normally 0,15 mm or 6 mil. Just enter 0,15 mm here. Thinner tracks in the layout now get exchanged by thicker ones. TARGET 3001! creates a warning message after conversion because the widening of tracks may lead to spacing violations.
Circles and spline curves are created by many short straight pieces. Those chords inevitably are too close to the center of the circle in their middle and too far from the center at their ends. By entering max. Error the number of chords can be increased and so the maximum error be limited when creating arcs in Gerber. The value 0,01 mm has proven usable. If your PCB house manufactures tracks and spacings e.g. at 0,15 mm then use in your projects minimally 0,16 mm so you are on the secure side.
Gerber X2 information, Gerber X3 information
Additional comments regarding the function of the Gerber file will be inserted into the Gerber file itself.
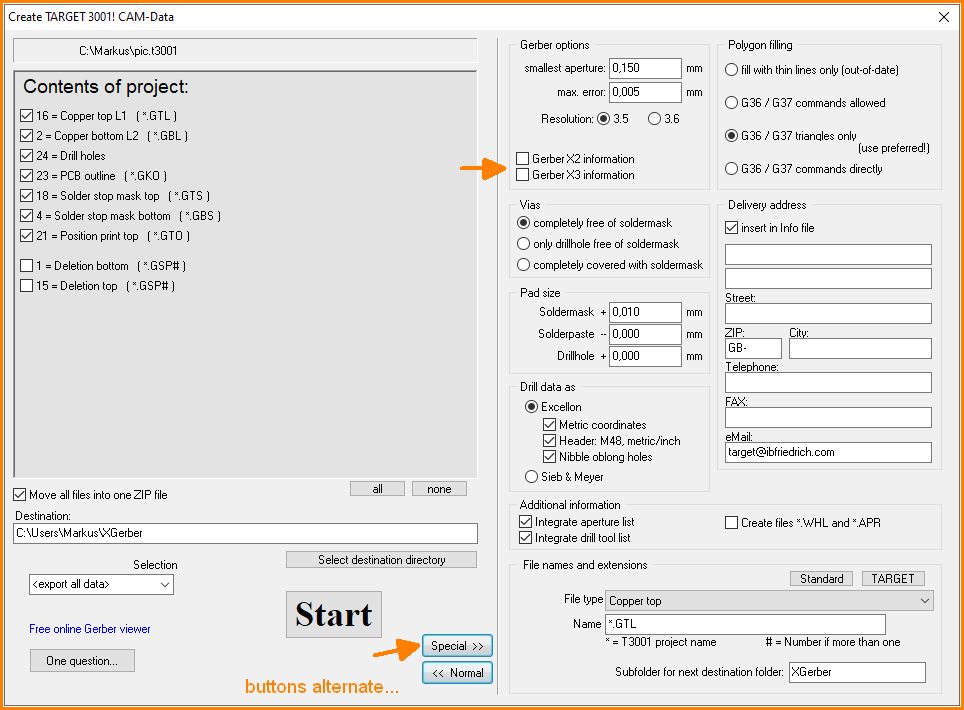
Image: Gerber X2 information and Gerber X3 information will be added to the Gerber files or not.
Please note: Not all CAM software systems can recognize these comments as such, especially old editions of the CAM350 software system. If you uncheck this box, no additional comments will be generated. More info on Gerber X2 and Gerber X3 please find in the article Gerber.
Vias free of soldermask
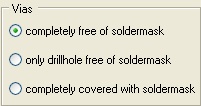
From version TARGET 3001! V11.1.1.21 on each via itself can be edited whether it shall be covered with soldermask or not. The vias of older projects or those vias showing the "standard" setting can be manipulated accordingly here.
The second option only drillhole free of soldermask is used if you want to protect vias by soldermask from being touched on the one hand, but on the other hand wish to applicate a fluid soldermask by serigraphy. The solderstop agens without fail would trickle through the drillholes of the vias. This option cares for the fact that the sieve (the screen) which is used used in the serigraphy has little caps at every via position (which avoids this mess).
Pad size

This option cares for the size of pads in the solderstop mask and in the solderpaste mask. Often in the solderstop mask pads are defined a bit wider, in the solderpaste mask they are defined a bit smaller. Please activate this options only in those (rare) cases if your PCB house explicitely asks it from you. Negative values can have negative influence: a negative entry in the negatively defined solderpaste line will effect an increase instead of a reduction!
Drill data
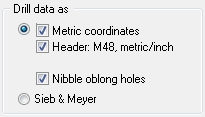
Drillhole data mostly are required in Excellon format - anyway you can define it here.
Additional information

The Gerber format TARGET 3001! creates is a "do it all" tool: it is Gerber RS274D as well as RS274X. This works because top of the Gerber file the aperture information is integrated as a comment and all further commands are old RS274D commands. An elderly Gerber interpreter does not have problems reading the data because the comments are ignored and all other commands are processed. However the aperture list (which you have as comments) is needed. The new XGerber interpreter directly find everything they need because they can read and process the comments!
In case your old Gerber interpreter does not come to terms with the XGerber comments, you can fade them out here. Think the same regards the drill tool list in the drill file.
Polygon filling
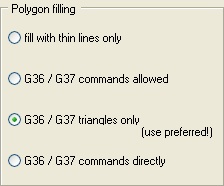
Polygons in Gerber are a delicate matter. The complete documentation of this function using the commands G36/G37 is reduced to one single phrase. All those multiple exceptions and special cases remain unmentioned. Data for machines unable to process G36/G37 commands need to select the first option: fill with thin lines only. All polygons get filled with lines (see above: smallest aperture). Eventually this leads to huge file sizes. Out of the other three options the middle is least problematic. Please check by yourself using a Gerber viewer (e. g. GC-Prevue) whether the data are displayed correctly.
Delivery address
The file *.info offers all information on the project, e.g. which file offers which data. Additionally you might add the information of your address (...) to this file.
Gerber file name, Gerber file extension
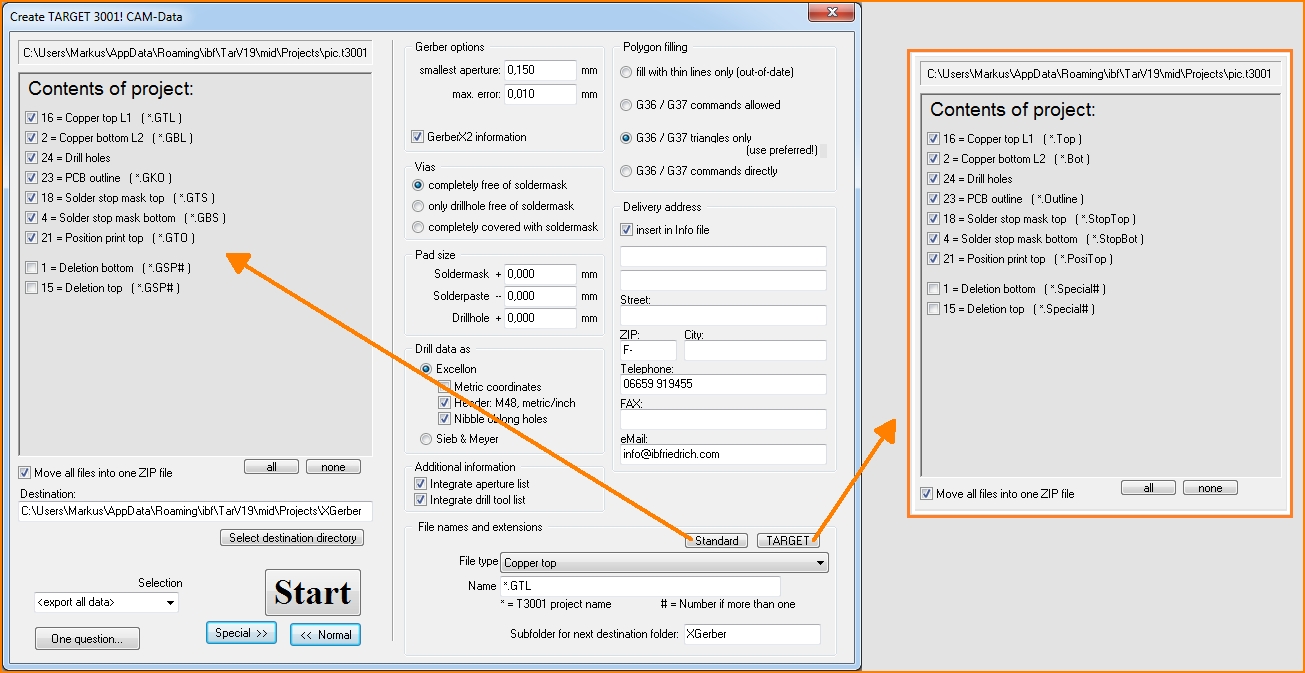
Image: Different Gerber file extensions
The naming of Gerber and Drill files is unfortunately not standardised. For some manufacturers, all files should end in *.GBR. Often *.TOP and *.BOT are also used etc. An internationally frequently used nomenclature is given by the button "Standard", results see left (example).
The settings of the "Standard" button are preset since V 19.7.0.46. This means that if you output XGerber and use the standard file extensions, these will also be used in future projects. This setting is therefore linked to your computer, not to the loaded project.
Existing users who may be relying on the old familiar [TARGET] settings will also have no problems, as the old settings for new installations will restore as well. In the TARGET button you can give individual instructions for the file name for each type of file. Attention, the system does not double check for identical names.
If you do not specify a target directory in the << Normal - part of the dialogue, TARGET creates the XGerber data directly to your project directory. This can be useful, but can also lead to confusion, as there can be a significant number of additional files. TARGET suggests to store the XGerber data in a subdirectory of the project directory. You can define the name of this subdirectory here:

Image: Define a sub folder for the Gerber data
Normally Gerber data are generated besides the project file. Since these can be quite a few it appears more convenient to have them all in a separate subfolder. Better give this subfolder a meaningful name.

