Capture Window
General
In case you intend to select several elements within an area or even the complete drawing, use the mouse to drag a window (rectangle) over these elements. This is done by clicking M1H while in pointer mode at an empty area of the active window and dragging from top left to bottom right. Sometimes we call it a "Highlighting Square" or a "Catch Window".
The TARGET 3001! nomenclature
You can edit the attributes of the "Capture Window" function with the [o] (option) key, such that, a decision can be made to retain all the elements in the selected area or to add additional elements that are associated with those in the catch window. As pointed out in the menu Edit / "Capture Window", the "Capture Window" function can be executed by pressing the [c] key. This causes a catch window to be initiated at the current location of the cursor. This method is recommended for high density layouts, where it is difficult to find an empty spot for M1H.
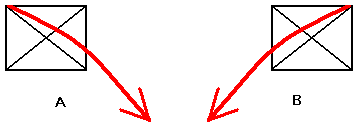
If one drags such a capture window normally from left to right, all elements are selected, that are completely inside the Window (contained). If one drags the capture window backwards from right to left, it is enough for an element to have one endpoint inside to become selected (touched).
To summarize, you can activate the "Capture Window" function by one of the following methods:
- pressing the [c] key
- menu entry "Capture Window" in menu Edit
- clicking M1Hon a free position while in "Pointer Mode"
You can leave the mode"Capture Window" by pressing the [Esc] key or by clicking M12.
Example
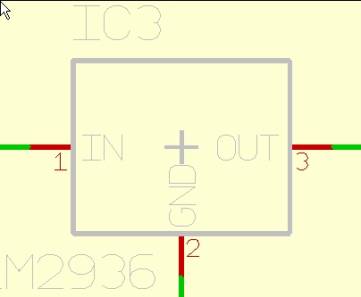
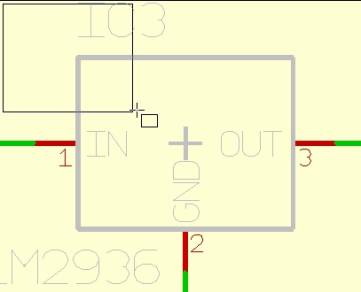
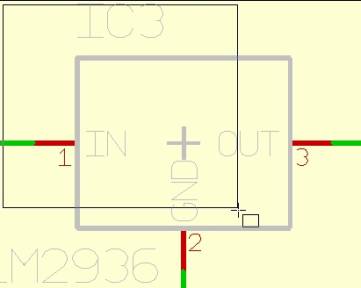
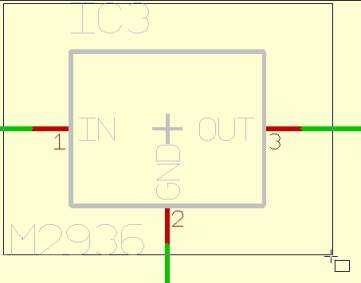
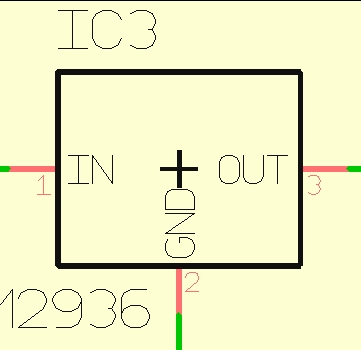
The IC3 "LM2936" now is highlighted.
Additional capture window
The "Additional Capture Window" function is similar to the "Capture Window" function in that they both enable the selection of a group of elements. However, let us suppose that the Capture Window function is first used to select a group of elements, then the Additional Capture Window function can now be used to select a second group of elements which will automatically be added to the first group of selected elements.
This function is activated by one of the following methods:
a) pressing the [Shift]+[c] keys
b) clicking Edit on the menu bar then selecting "Additional Capture Window"
c) clicking [Shift]+M1H while in "Pointer Mode" on a free position
Capture window options
In capture window mode press key [o] for options to reach the following dialog:
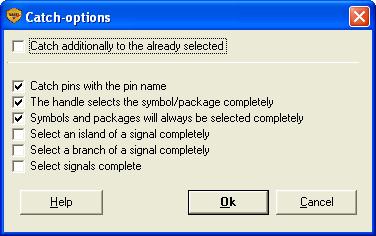
The options mean:
- Catch additionally to the already selected: those ones highlighted prior to this action are kept.
- Catch pins with the pin name: the terminal and it's name is highlighted.
- The handle selects the symbol/package completely: highlighting the handle cross adds the complete symbol or package. Equal to function:

- Symbols and packages will always be selected completely: a component is highlighted completely even if only a drawing element of it is caught. Equal to:

- Select an island of a signal completely: If a signal segment is highlighted, those segments and terminals which directly are fixed to it are highlighted too. Equal to:

- Select a branch of a signal completely: Equal to:

- Select signals complete: A signal always is highlighted completely as soon as a segment is highlighted. Equal to:

.
Dragging a capture window "backwards"
Dragging a capture window "backwards" with M1 from right to left (see figure B): Touching of a single element is sufficient for highlighting (selection).
Dragging the highlighting square like shown in figure A highlights all which is complete within the square. B highlights all what is complete in the square and additionally those elements, which just get touched by the square.
Capture polygonal
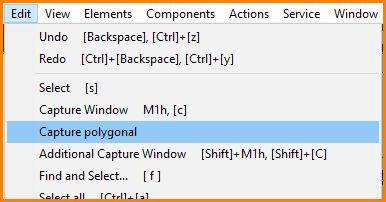
Capture elements and/or element groups by a polygon and so highlight them. Select option "Capture polygonal" in menu "Edit":
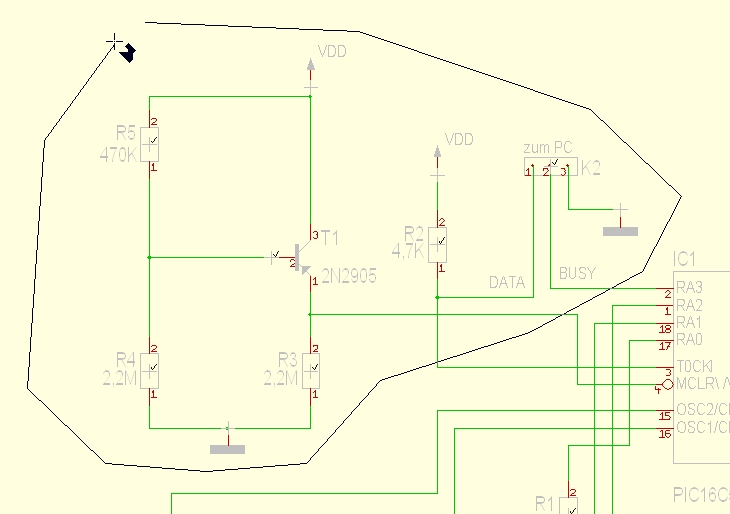
Immediately the cursor image changes and by mouseclick you define the outline of your polygonal capture.
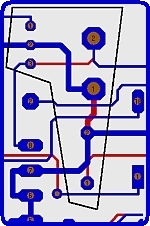
After the polygon is closed during the ultimate segment by the use of the "Enter" key or by M11, you will see the inner elements highlighted by different color. Now press keyboard key [e] for edition or treat the highlighted the way you desire.
.


