Flat milling with raised remainder: Difference between revisions
No edit summary |
No edit summary |
||
| Line 1: | Line 1: | ||
Please also note: [[Kurzeinführung_Frontplatte|Kurzeinführung Frontplatte]].<br><br> | |||
[[Image: flachfraesen0.png]]<br><br> | [[Image: flachfraesen0.png]]<br><br> | ||
| Line 38: | Line 34: | ||
Now you enter the new property FPBREAKOUTDEPTH and 1.000.000 for this object (one million). TARGET works internally in nanometers (nm). One nanometer is one millionth of a millimeter. In other words: 1.000.000nm = 1mm. | Now you enter the new property FPBREAKOUTDEPTH and 1.000.000 for this object (one million). TARGET works internally in nanometers (nm). One nanometer is one millionth of a millimeter. In other words: 1.000.000nm = 1mm. | ||
The lines now represent the boundary of a flat milling that is one millimeter deep. Copy and paste it for the second half and have it produced. | The lines now represent the boundary of a flat milling that is one millimeter deep. Copy and paste it for the second half and have it produced.<br><br> | ||
[[Image: flachfraesen5.jpg]]<br> | [[Image: flachfraesen5.jpg]]<br> | ||
Revision as of 10:24, 29 July 2019
Please also note: Kurzeinführung Frontplatte.
Problem:
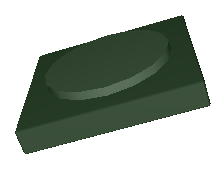
You want to remove 1mm from a 4mm thick front panel, with a cylinder remaining in the middle. Optically a rounding of 1mm height lies on top of a rectangular plate. How do you mill such a thing?
Solution:
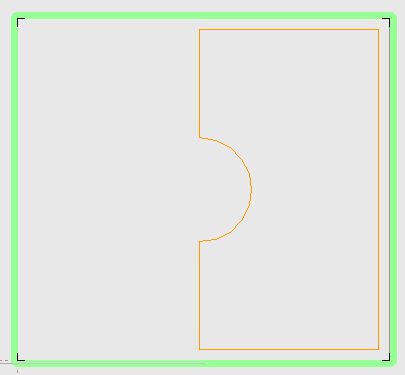
Divide the rectangle around the circle into 2 halves. Then draw this half two times:

Image 1: The half is highlighted in orange.
First draw the half from an open rectangle from the drawing menu. Select the left edge and get 2 black boxes at its ends. Now hover over a black box and give it a right click M2. Now this context menu appears:
File:Flachfraesen2.jpg
Image 2: Add two vertices
The ligne will be devided in 3 parts. Now you can move the little inner boxes by left mousekey held M1H. Now drag the inner line segment to a half circle.
File:Flachfraesen3.jpg
Image 3: Look at sidebar to the right, select the arc-tool, drag the line to an arc.
Now select the structure consisting of an arc and 5 straight lines and press the [e] key to edit.
File:Flachfraesen4.jpg
Image 4: Ändern-Dialog
Now you enter the new property FPBREAKOUTDEPTH and 1.000.000 for this object (one million). TARGET works internally in nanometers (nm). One nanometer is one millionth of a millimeter. In other words: 1.000.000nm = 1mm.
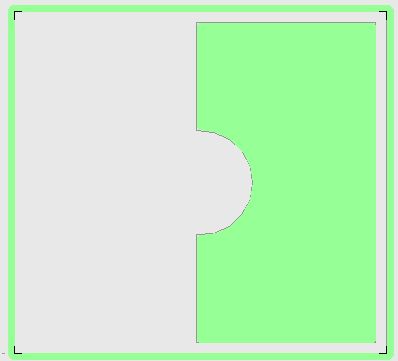
The lines now represent the boundary of a flat milling that is one millimeter deep. Copy and paste it for the second half and have it produced.


