Vertex, bending
General
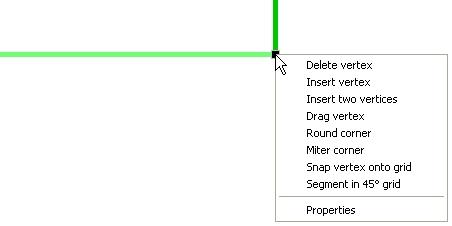
A vertex appears in TARGET 3001! when drawing lines, schematic signals or oder copper tracks. If you click one of these elements by a single click M1 it gets highlighted and at both ends little black square touchpads will appear. See the example of a signal segment in a schematic hit by M1:
Besides touching and moving of such a touchpad there is a context menu opening when clicking M2 on it:
Now it is clear that such a touchpad is nothing else than a vertex, with other words both black touchpads are the boundaries of a line segment. A line , a signal, a track is bounded by two vertices.
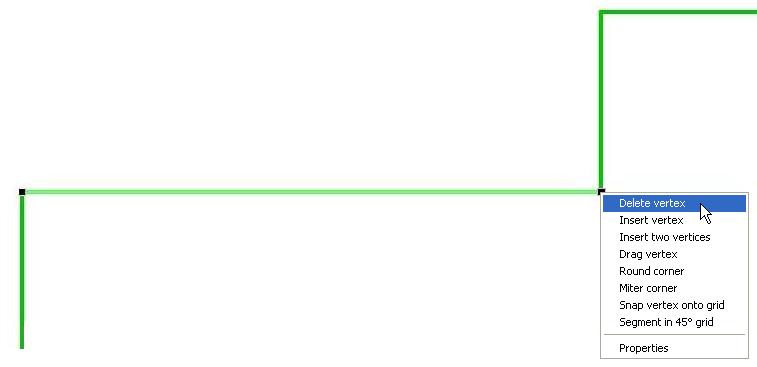
Delete vertex
The result of a deleting a vertex can be seen here:
Insert vertex
Inserting a vertex leads to the addition of one vertex in the middle of the highlighted element:
With [CTRL] + M1H and release again you can insert additional vertices into a track. But you have to hit exactly the middle of the track line! So please first press [F8] to get the cross-hair to see exactly where the cursor moves. Then press [#] to get the X-Ray mode. If you now zoom in (mouse wheel), you see exactly where the middle of a track is. Move the mouse close to the middle line. You have to approach nearer than half the grid size. Now press [CTRL] + M1H as if to drag a new vertex. It is the way that you should act as if you wanted to drag a further bending within a track using [Ctrl]+M1H. Thus a vertex is created. But if you omit the dragging, the vertex remains. It is equal where you hit the middle-line. The ends of a track move the existing vertex and do not insert a new one. Also see "Drag vertex" two enries below.
Insert two vertices
Inserting two vertices separates a segment into three parts. Whether your segment shall achieve an even-numbered or an uneven- numbered amount of vertices it is always a combination of one vertex (=two segments) or two vertices (=three segments).
Drag vertex
Holding your mousebutton pressed M1H or using the context menu entry "Drag vertex" you can move your vertex free on your canvas. Both adjacent segments stretch like rubber bands.
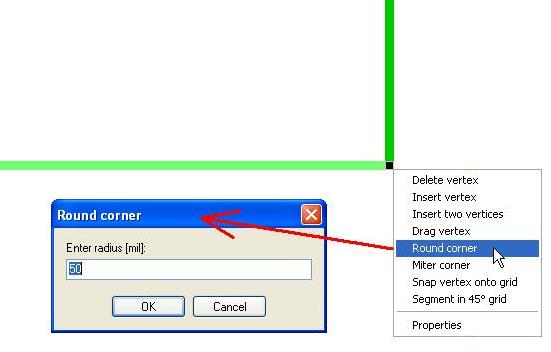
Round corner
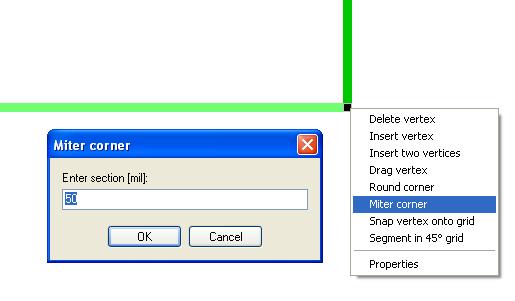
Miter corner
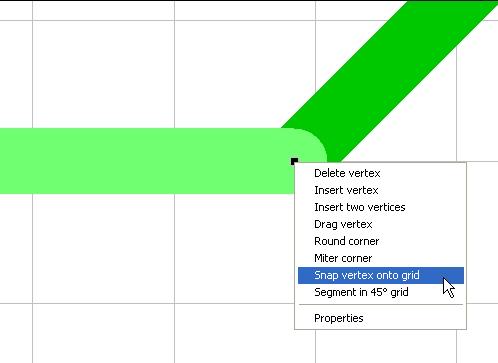
Snap vertex onto grid
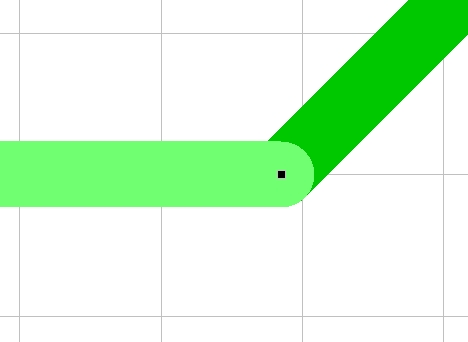
The following situation shows that the vertex isn't placed on the grid correctly.
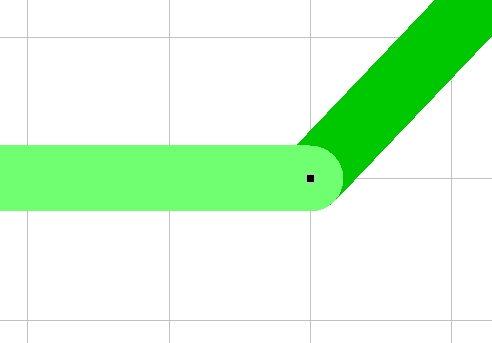
The entry "Snap vertex onto grid" moves the vertex on to the next grid point.
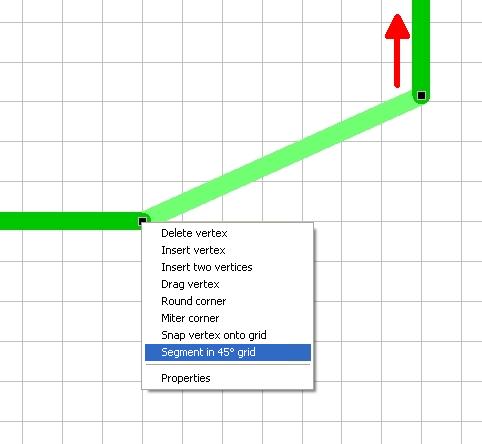
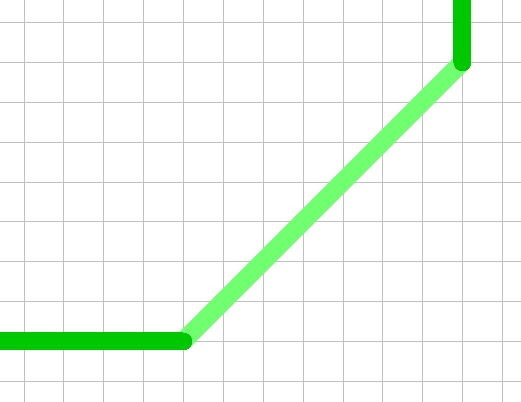
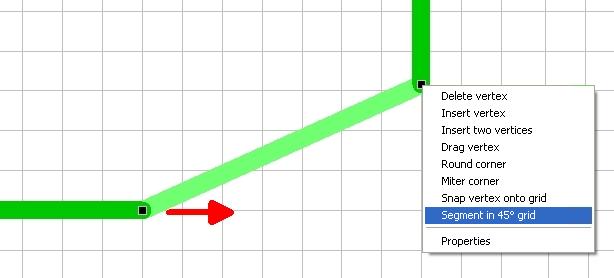
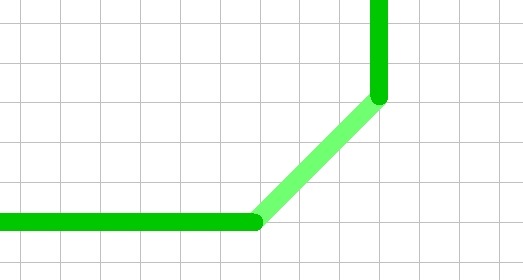
Segment in 45° grid
The following segment is not in 45°. Use the menu entry for doing so. Now the segment gets rotated by the axis which is the vertex hit by M2:
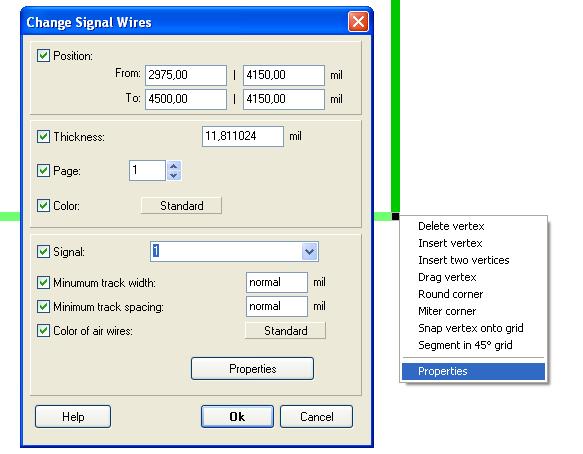
Properties
.


