Ordering a frontpanel with WK-Mechanik
also see: Engraving a logo to a frontpanel
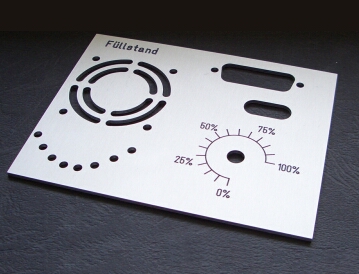
After you have finished your PCB project, you may wish to create a frontpanel for the case your PCB shall be mounted in. You wish to place drillings for the LEDs, for the trimmer, an appropriate scale, or a lettering and a further outbreak or whatever.
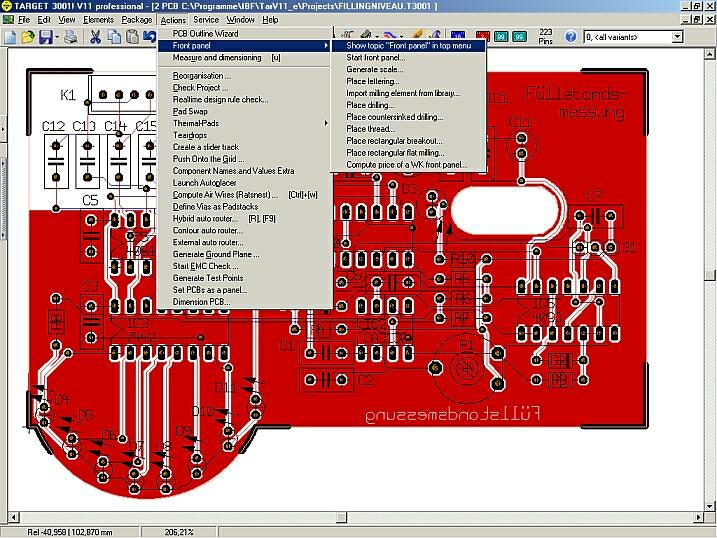
Place your frontpanel layout directly upon (above) your PCB layout, to make sure to have placed all drillings/millings precisely.
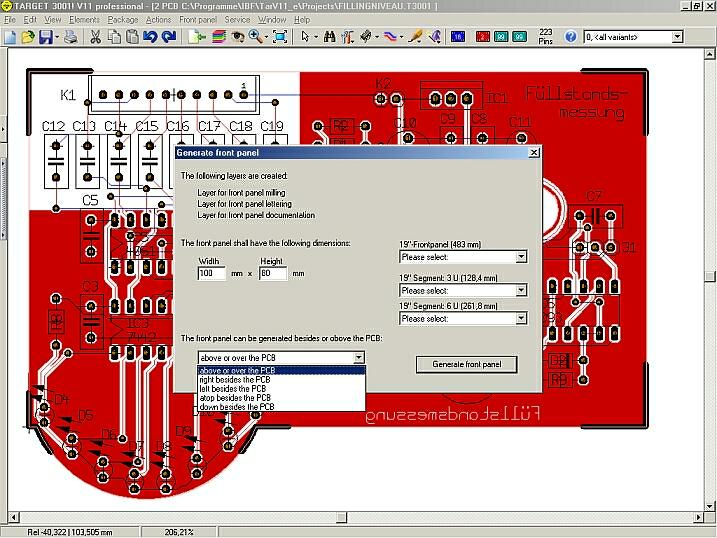
After you started the frontpanel design process first see the position layer and the outline of the PCB in red and the outline of the frontpanel in grey. All layers of no interest for the frontpanel design process are faded out.
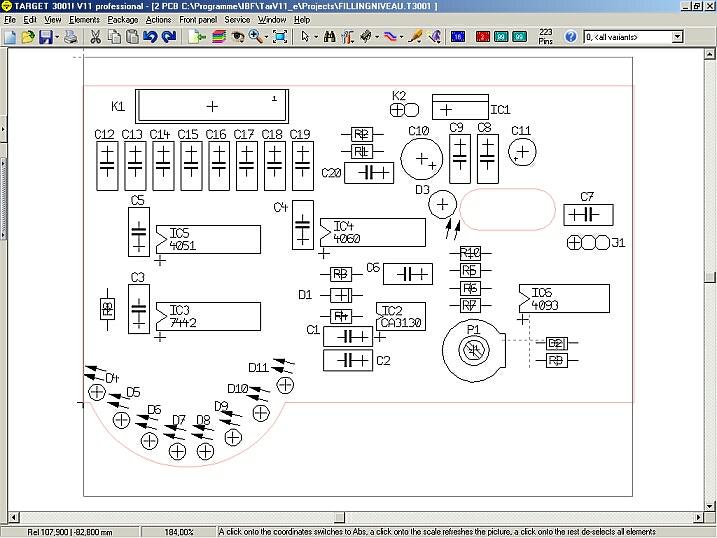
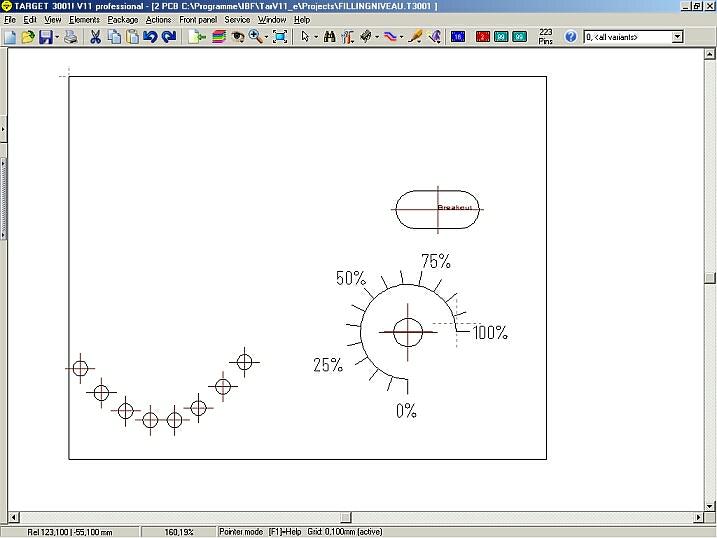
Now use the functions in menu "Front panel". Place drillings, outbreaks, scales or letterings. Your frontpanel layout is configured on the top three layers in TARGET and now might look like this:
The library browser offers in library "Frontpanel.PCK3001" a multitude of milling models which can easily be inserted by drag and drop...
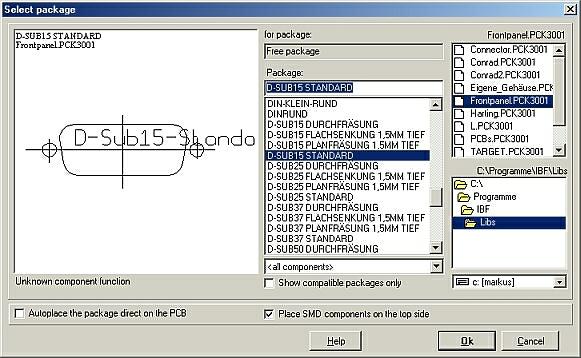
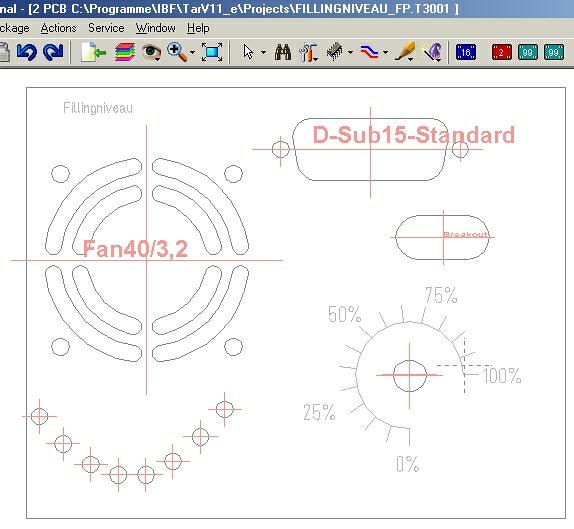
...e.g. milling for a fan40/3,2 or for a plug D-Sub15-Standard (sure doesn't make sense for this project but for demonstrational reasons)
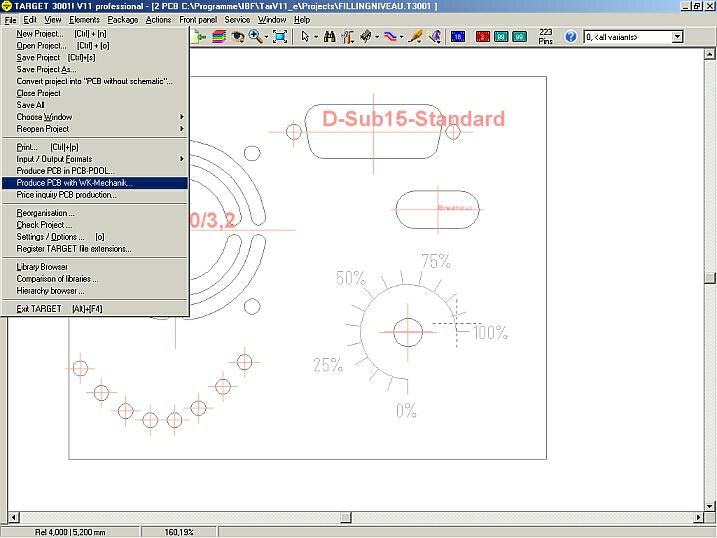
Now export your layout in format DXF to gather offers from frontpanel-manufacturers. To speed up this process try in TARGET 3001! the frontpanelcalculator "WK Calculator" in menu "File/Produce Frontpanel with WK-Mechanik...":
Choose several options for your project:
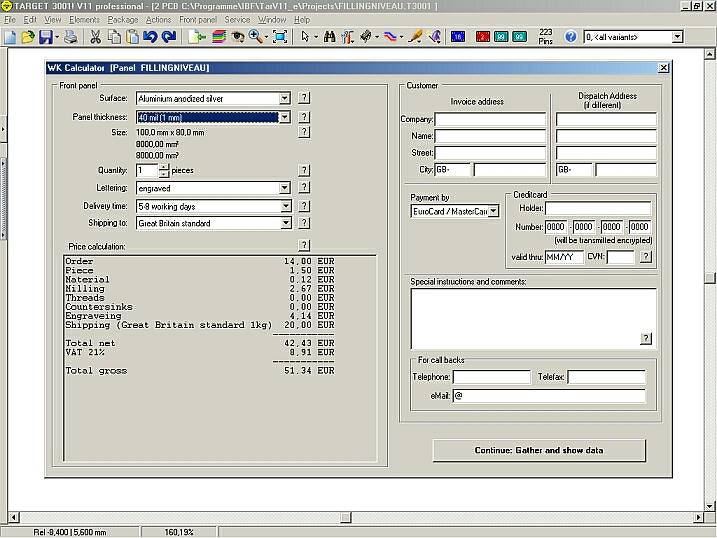
The price you see is a binding offer of the front panel manufacturer "WK-Mechanik" located in Germany. If you wish to accept the offer just enter to the form on the right side of the dialog and confirm it. You will receive a summary of your order and now can place the order by mouse click. Your project is zipped and appended to the eMail WK-Mechanik will receive. After a few days you'll receive it... (we used a German lettering: filling niveau=Füllstand)
In case you wish to order elsewhere, you can create a DXF file from your data.
