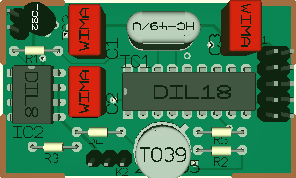
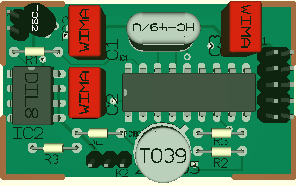
Modify a 3D model
This article describes the modifying of a 3D model in V14 and older.
If you have V15, please have a look here: Modification of a 3D model
In versions prior to V15 you have to
- select 3D-view in an empty project
- load 3D syntax of a certain package.
- modify the syntax accor4ding to your wishes
- save component (including 3D-model change)
- actively exchange the package in the existing layout
Particularities:
Imagine you would like to modify the lettering of an existing component in the 3D view. For example the lettering "DIL 18" upon the Pic16C54 component shall be deleted for the 3D view.
First check which kind of package the component really uses in the layout. Close the 3D view and open the layout view. Double click upon the handle cross of the component in question and check from it's properties which package within which library it uses. In this case it is a DIL18 from the standard.pck library.
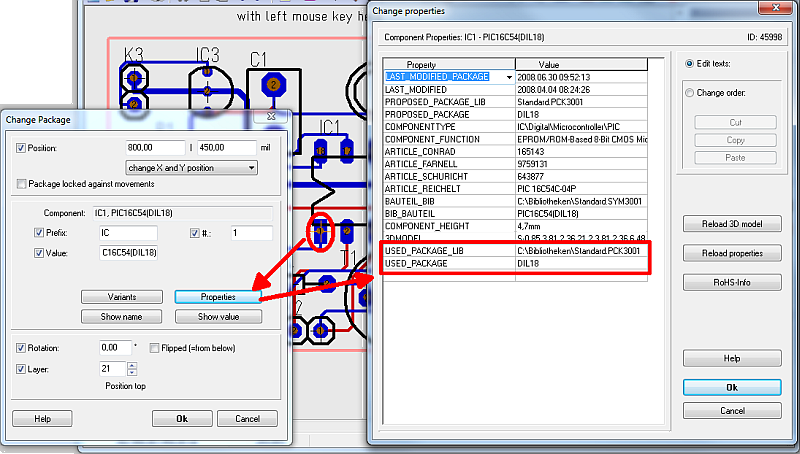
Image: Check the package in use in version V14 and older
Now close this dialog and open the 3D view in the layout view of an empty project (set window fit to screen) 
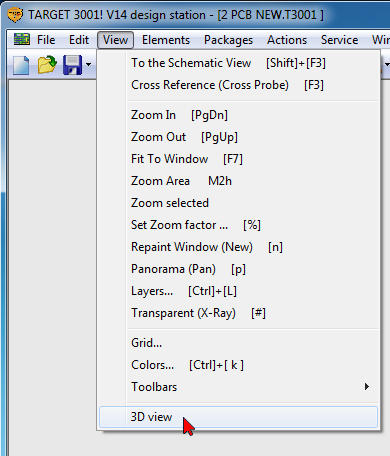
Alternatively you might use menu View/3D view:
You should see something like this:
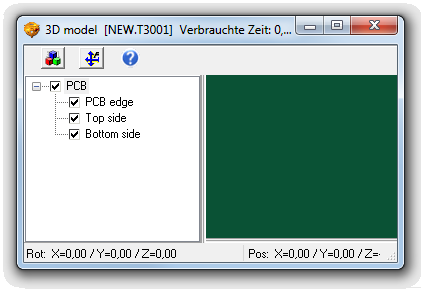
Use the button ![]() for loading the desired package with it's 3D model. The lower area of the dialog shows the list of the 3D syntax.
for loading the desired package with it's 3D model. The lower area of the dialog shows the list of the 3D syntax.
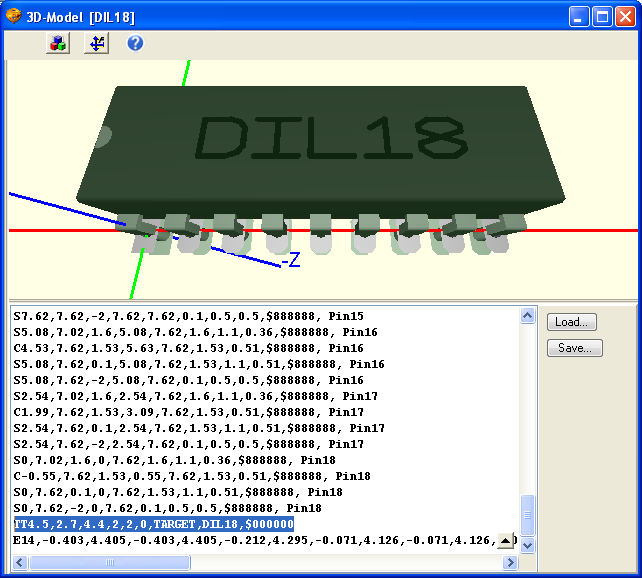
Text in the 3D module is identified by the leading characters TT. The line
TT4.5,2.7,4.4,2,2,0,TARGET,DIL18,$000000 is to be interpreted as follows:
TTX,Y,Z,Height,Width,Angle,Lettering,Contents,Color
If you want to modify the Text, then do it within this line. In case you would like to delete the text, delete this line. After you have done your modifications, please save the new 3D syntax by the use of the "Save" button. If you want to use this new 3d view in an existing layout, please reload it from the library (delete the old package and get in the new one from the library).
The result looks like this:


