Difference between revisions of "Insert a resistor in series as limiter afterwards"
| Line 3: | Line 3: | ||
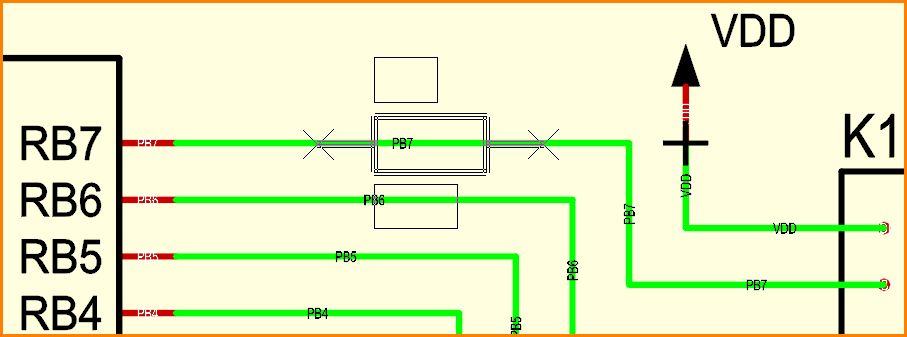
[[Image: Vorwiderstand1.jpg|none|Resistor imported and aligned]] Image: Resistor fetched from the component database and aligned. Click [[M1]] to "drop" (= place on the existing signal).<br><br><br> | [[Image: Vorwiderstand1.jpg|none|Resistor imported and aligned]] Image: Resistor fetched from the component database and aligned. Click [[M1]] to "drop" (= place on the existing signal).<br><br><br> | ||
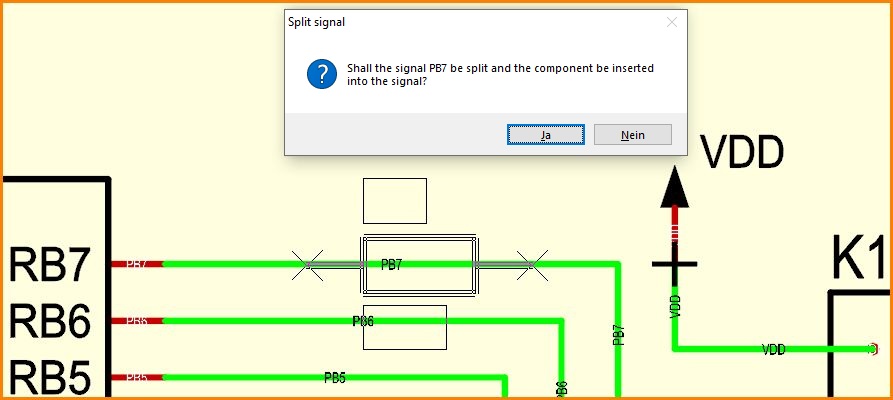
| − | [[Image: Vorwiderstand2_e.jpg|none| | + | [[Image: Vorwiderstand2_e.jpg|none|Hint 1]] Image: Clic Yes delivers the following image:<br><br><br> |
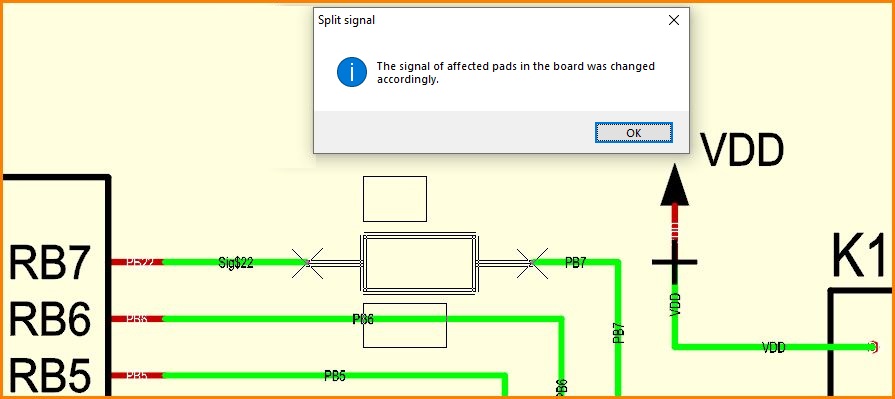
| − | [[Image: Vorwiderstand3_e.jpg|none| | + | [[Image: Vorwiderstand3_e.jpg|none|Hint 2]] Image: The signal name Sig$22 is generated automatically. Which signal line keeps the name and which gets a new name depends, among other things, on its length. <br><br><br> |
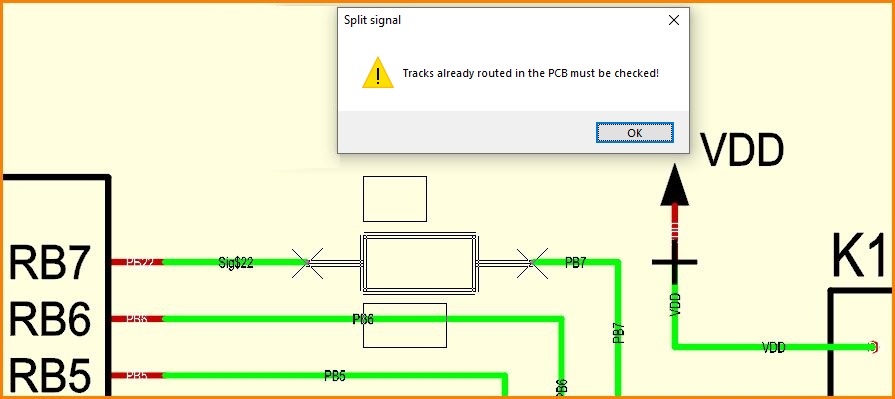
| − | [[Image: Vorwiderstand5_e.jpg|none| | + | [[Image: Vorwiderstand5_e.jpg|none|Hint 3]] Image: Note on the further procedure in the layout. <br><br><br> |
| − | + | Tracks that were already laid in the layout remain for the moment. They need to be ripped up manually if the resistor package is to be inserted. The signal part Sig$22 would have to be [[rename signal|renamed by hand]] in the layout. If the track is not too complicated, delete the track completely and re-route it. The pad of the package in the layout will automatically bring the new signal name along, in our case Sig$22. When rerouting the track, this signal name would be picked up and the rerouted track would carry this signal name.<br><br><br> | |
| − | [[Image: Vorwiderstand4.jpg|none| | + | [[Image: Vorwiderstand4.jpg|none|Resistor in place]] Image: Resistor placed in series (Schematic).<br><br> |
<br><br> | <br><br> | ||
Revision as of 12:49, 30 August 2021
Simply drop the resistor onto the existing signal wire in the schematic. The hit signal will be ripped up in order to insert the resistor.
Image: Clic Yes delivers the following image:
Image: The signal name Sig$22 is generated automatically. Which signal line keeps the name and which gets a new name depends, among other things, on its length.
Image: Note on the further procedure in the layout.
Tracks that were already laid in the layout remain for the moment. They need to be ripped up manually if the resistor package is to be inserted. The signal part Sig$22 would have to be renamed by hand in the layout. If the track is not too complicated, delete the track completely and re-route it. The pad of the package in the layout will automatically bring the new signal name along, in our case Sig$22. When rerouting the track, this signal name would be picked up and the rerouted track would carry this signal name.


