Checkboxes in front of properties
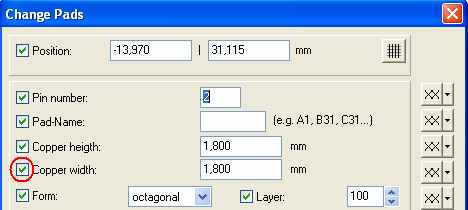
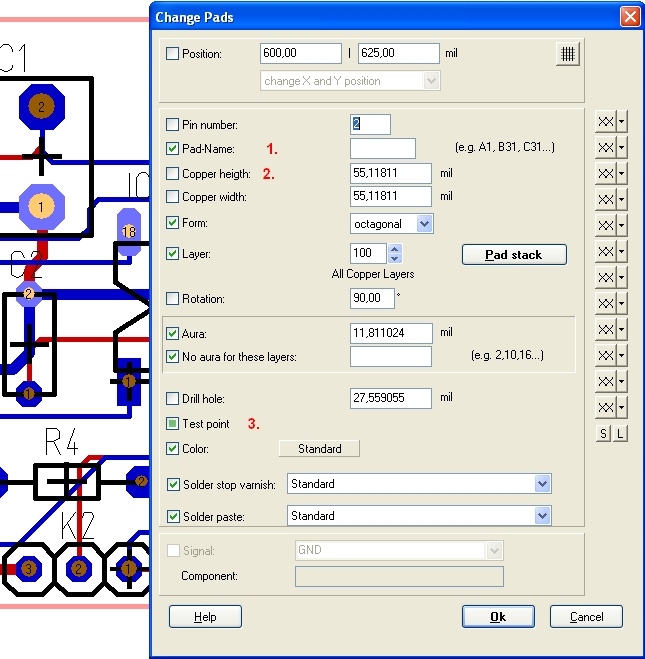
If you open a dialog for changing an element kind, then you'll see tickboxes in front of the apellations of an element kind. See for example the Change-pad dialog:
A tick in one of those boxes has the meaning: This property will be recognised when pressing [OK]. In case you had doubleclicked M11a single element, e.g. a solderpad, then all boxes will be ticked when the dialog opens. In this state the ticks are effectless. Not until several elements of the same kind are involved, e. g. several solder pads, the ticks are of interest:
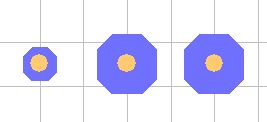
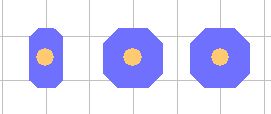
In case you have three solderpads selected with different sizes:
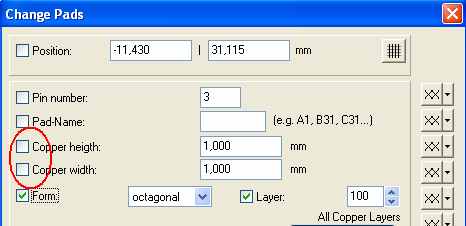
then there are no ticks in front of "Copper height" and "Copper width":
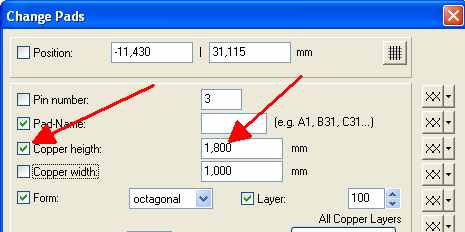
In case you now would press [OK], nothing would happen. The three solder pads would not be equalized, because there is no tick in front of Copper height and Copper width. If you change the value let's say of Copper height, the box gets ticked automatically:
After [OK] all solder pads get changed automatically. The Copper height of all three get influenced, the width remains untouched, because the tick had not been set:
Besides - which value of different ones gets displayed is random. In our case here 1,00 mm (the hight and width of the smaller solder pad) is selected at random.
Checkboxes in front of Yes-No properties are three stage, see image below:
Checked: Verify property at all elemets selected (1.)
Unchecked: Negate property at all elements selected (2.)
Grey: leave this property untouched (leave different, if so) (3.)
.


