Bolts
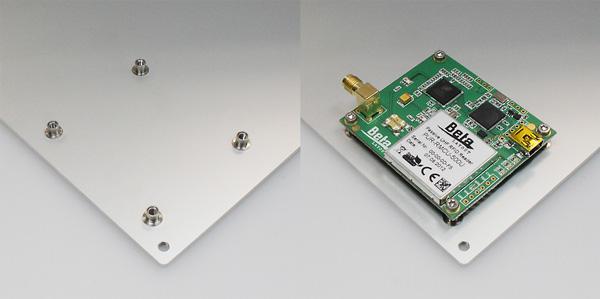
Bolts being crimped to the front panel from the backside:
Fix your PCB tight and secure to the frontpanel from behind.
That's the way you proceed:
First update your TARGET 3001! version free of charge (menu Help/Free Update). Then renew the database by the menu "Update" in the database browser. This is free of charge as well. Close all dialogs and open a front panel project. Now open the component database by clicking this milling tool in the frontpanel toolbar: ![]()
If the milling tool bar does not show please find it in menu View/Toolbars/Frontpanel toolbar visible
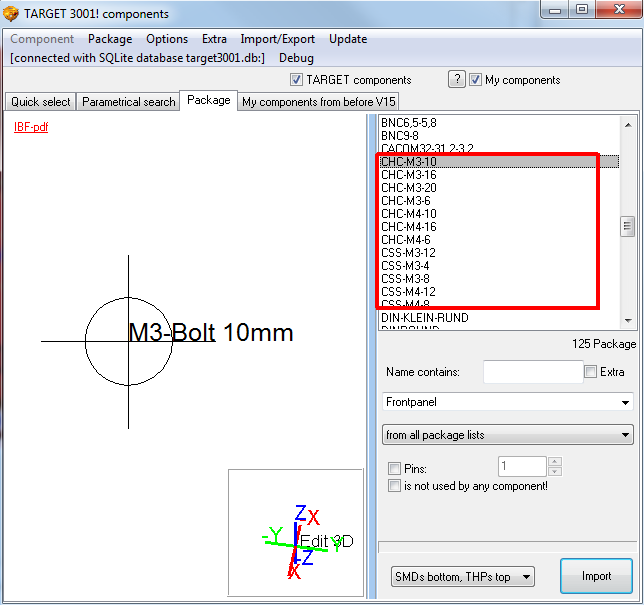
In the database find the bolts named CHC (= bolts) or CSS (= bushings).

Image 1: The data base for front panel milling.
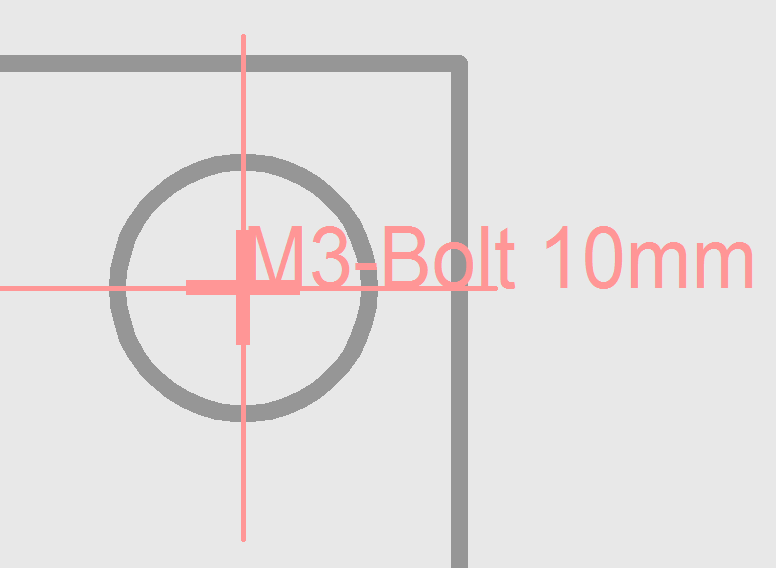
Select an appropriate bolt and place it to your front panel layout.

Image 2: A bolt placed in a front panel layout.
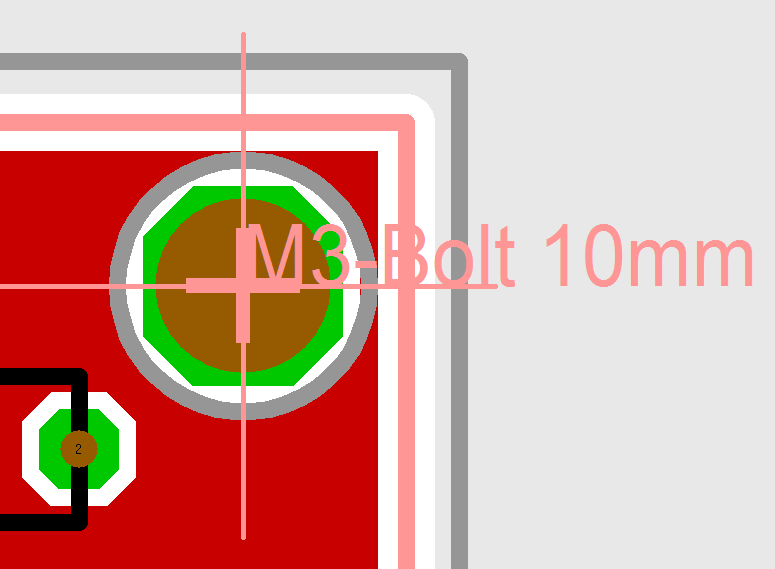
It is most easy to place the bolt superimposed to a mounting drill hole in the PCB layout having the same center:

Image 4: Mounting drill hole (PCB) and bolt (Front panel)
Though the bolt is drawn to the face of the front panel design, the Panel Pool team correctly will construct it from behind. The face of the front panel stays untouched at this point.
Find this feature in all TARGET 3001! editions since V15.
Get the free PCB-POOL® Edition of TARGET 3001!
Further information on front panels


