Exchange symbol/package
Exchange a package in the layout
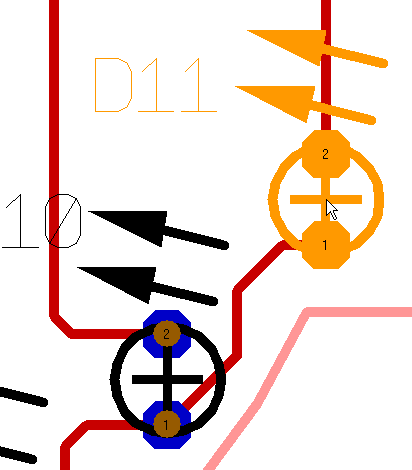
Let's say you would like to exchange a wired LED by a SMT one. For the fact that the symbol in the schematic is identical you will only have to act in the layout view. So switch over to the layout view and highlight the desired package by it's handle.
Now delete the package using the [Del] key.
Now press the icon "Import package": ![]() from the toolbar. From the flashing dialog choose option: "Use different package".
from the toolbar. From the flashing dialog choose option: "Use different package".
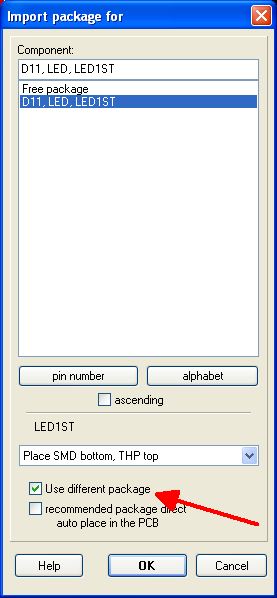
Figure 3: "Use different package"
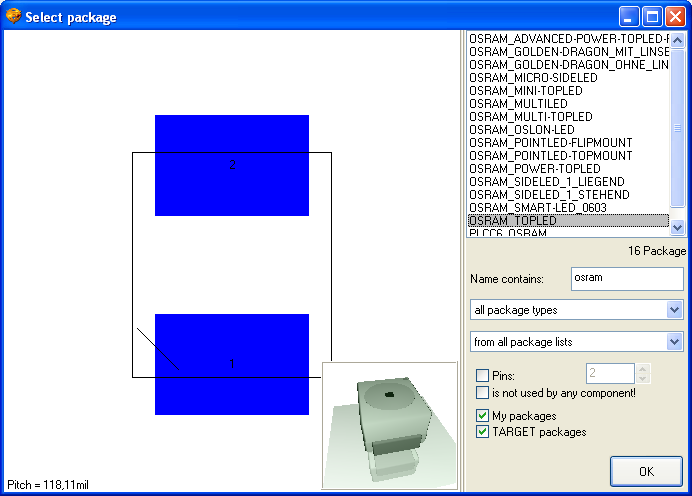
The browser for selecting packages opens. Select the package e. g. for a Osram Mini-TopLED:
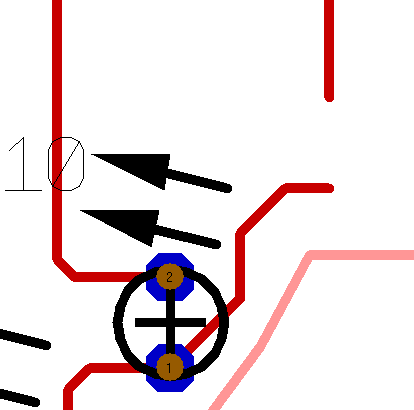
Within the dialog Figure 3 you can define to which layer the SMT part shall be mounted. In our case the "copper bottom" was preset so the LED will be placed by mouse click something like this:
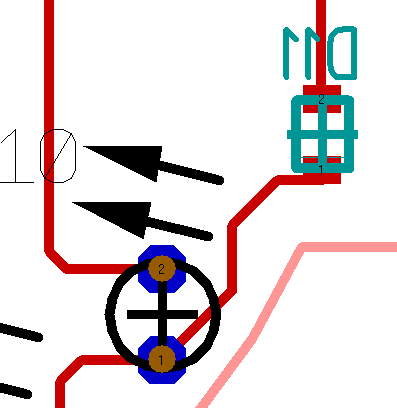
Figure 5: SMD Gehäuse on "Copper bottom"
If you prefer to have it on copper top, this can easily be done afterwards. Highlight it and press keyboard key "m" for mirror. Now you only need to connect it correctly on copper top. Place a via (through hole) by pressing the keyboard key [.] during the placement of tracks. The copper layer automatically changes from copper bottom to copper top and vice versa.
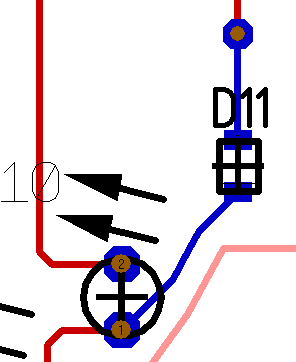
Figure 6: SMD package on "Copper top"
Exchange a symbol and it's package
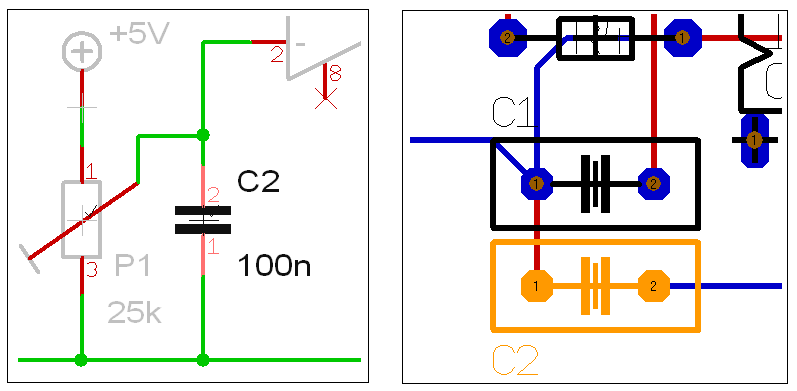
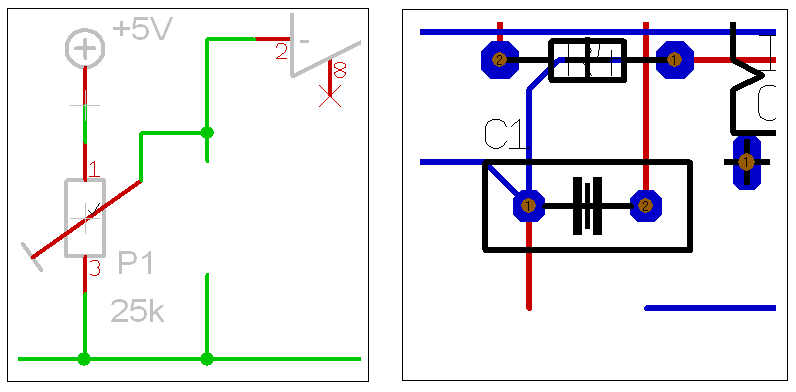
For exchanging a symbol from the schematic as well as the package, like the capacitor C2 in the following image,
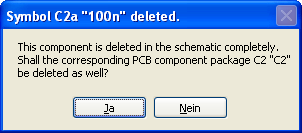
first highlight the symbol in schematic by clicking it's handle. Now delete it by keyboard key [Del]. You get asked whether to delete the package in the layout too.
Afterwards the sections will look like this:
Now in the schematic you open the library browser as always and import a new symbol. The same way you use the package proposal in the layout. Connect signals, connect tracks - you're done.
Replace components
This section focuses on the exchange of one ore more components in schematic and/or layout.
If you'd like to amend a comopnents shape or function, please have a look here: Component
Menu Components/Replace component
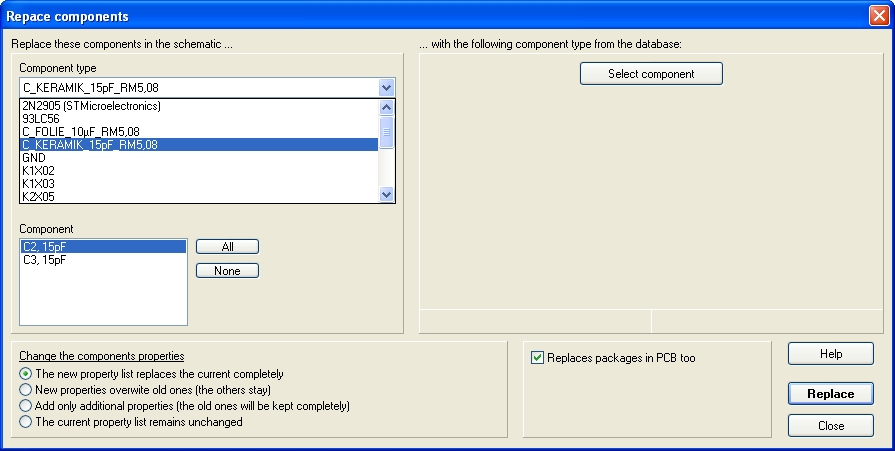
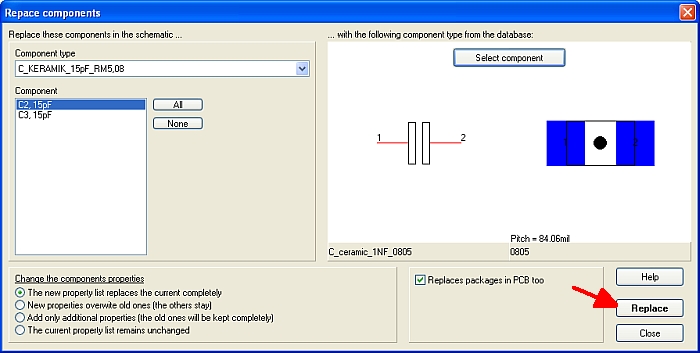
Image 1: Select from the list top left a kind of component and below the individual parts to be exchanged.
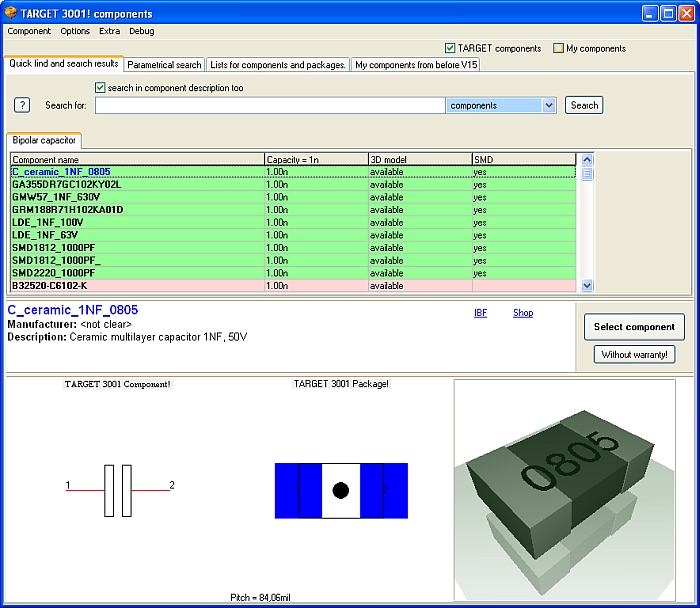
On the bottom left tick the box for the component information concerning the property list. This function is helpful if you wish to exchange more than one part and/or properties. Now press button "Select component" right on top. Remark the checkbox below in order to decide whether to place the package(s) as well. The component browser opens. By the parametrical search you select the desired component for exchange.
Image 2: In the right hand area select the new component. At once you see the symbol and it's package in the dialog.
Image 3: Now press button "replace" and symbol as well as package get exchanged.
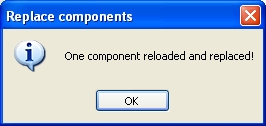
Image 4: At the end you 'll see a confirmation message
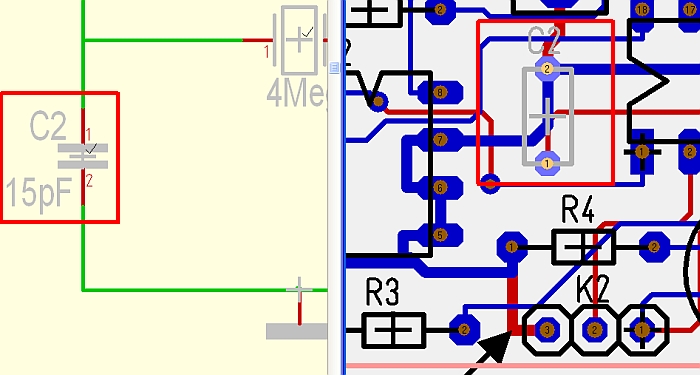
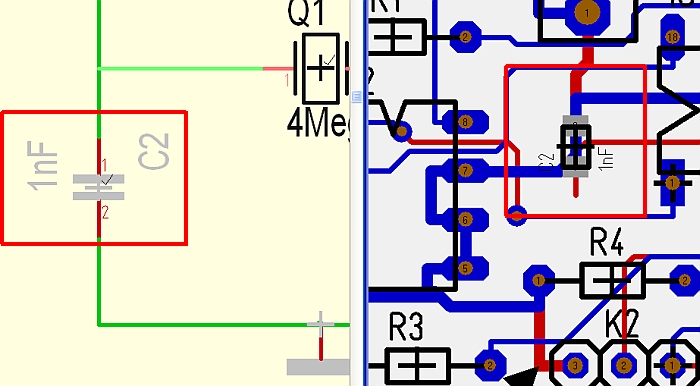
RESULT:
Image 5: Before
Image 6: After. In the Layout now you will have to care for the correct routing. Change THT towards SMD in our example.


