PCB sans schéma : Différence entre versions
(→Import a component package) |
|||
| Ligne 13 : | Ligne 13 : | ||
For the fact that you don't need symbols but only packages the database opens in the package browser when you press '''[Ins]''' to import a part. Alternatively you might use the icon [[Image:InsertPackage1.jpg]]. In the middle of the right hand side of the dialog please enter your catchword in order to find a suitable package. Highlight it and import it to the layout.<br><br> | For the fact that you don't need symbols but only packages the database opens in the package browser when you press '''[Ins]''' to import a part. Alternatively you might use the icon [[Image:InsertPackage1.jpg]]. In the middle of the right hand side of the dialog please enter your catchword in order to find a suitable package. Highlight it and import it to the layout.<br><br> | ||
| − | [[Image:PackBrwsDlg.jpg|500px| | + | [[Image:PackBrwsDlg.jpg|500px|Le gestionnaire de composants ouvre dans TAB Boîtiers|Le gestionnaire de composants ouvre dans TAB Boîtiers]].<br><br> |
<br> | <br> | ||
| − | |||
== Placer des chevelus == | == Placer des chevelus == | ||
Version du 5 septembre 2017 à 16:11
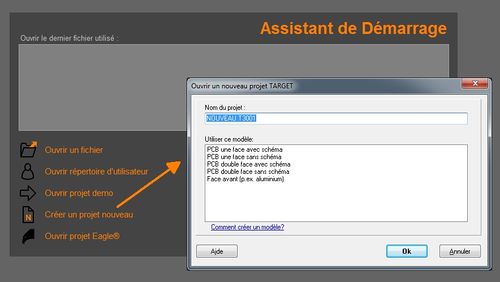
Le type de projet (avec ou sans schéma) est déterminé dans l'assistant de démarrage lors du démarrage d'un nouveau projet:

Sommaire
Généralités
La décision pour un projet "PCB sans schéma" est prise au démarrage du projet. Une fois la décision prise, elle est irréversible pour ce projet. Cela signifie qu'un schéma ne peut pas être ajouté ultérieurement. Cependant, dans un projet avec schéma, il est possible de séparer le schéma d'un "PCB avec schéma de circuit imprimé". Une copie de la mise en page est alors faite et traitée comme un "projet sans schéma".
PCB_sans_schéma&action=edit§ion=1
Import a component package
For the fact that you don't need symbols but only packages the database opens in the package browser when you press [Ins] to import a part. Alternatively you might use the icon ![]() . In the middle of the right hand side of the dialog please enter your catchword in order to find a suitable package. Highlight it and import it to the layout.
. In the middle of the right hand side of the dialog please enter your catchword in order to find a suitable package. Highlight it and import it to the layout.
Le gestionnaire de composants ouvre dans TAB Boîtiers.
Placer des chevelus
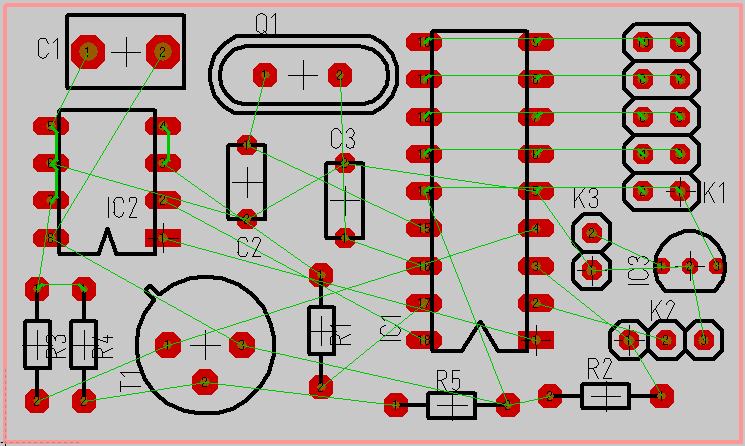
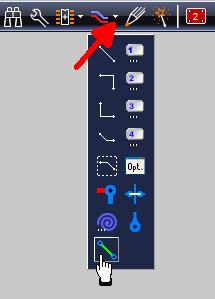
Après avoir placé tous les paquets, veuillez maintenant créer les connexions électriques par des fils d'air. Cliquez de pad en pad selon vos souhaits. Il est possible de placer des pistes instantanément mais sans câbles aériens l'autorouter ne pourrait pas faire son travail.

Placer des pistes tracks ...
...à la main
Voir ici s.v.p. Place tracks by hand
Ou généralement: Track
...avec l' autorouteur
Voir ici s.v.p.: Placer des pistes par autorouteur
Ou généralement: Autorouter.


